Summary
This project got started when my good friend Catherine asked me to help her make her wedding dress. At first, I was a little confused, since I have no sewing ability whatsoever, but it made much more sense when she explained that she wanted to have some LEDs light up her skirt!
We sketched out a few ideas on paper to see how things might fit together, and started pulling apart some LED fairy lights from Costco. These 5m strands were really cool; they can either be white or multicoloured, depending on which way the current is driven through the diodes. We figured that would stick a few of those in the skirt fabric, wire them up to a little control board, and hide a battery pack somewhere. Between the three degrees in electrical engineering between the two of us, we figured it would't be too bad!
We ended up working on this project from around September 2022 until the wedding in June, 2023.
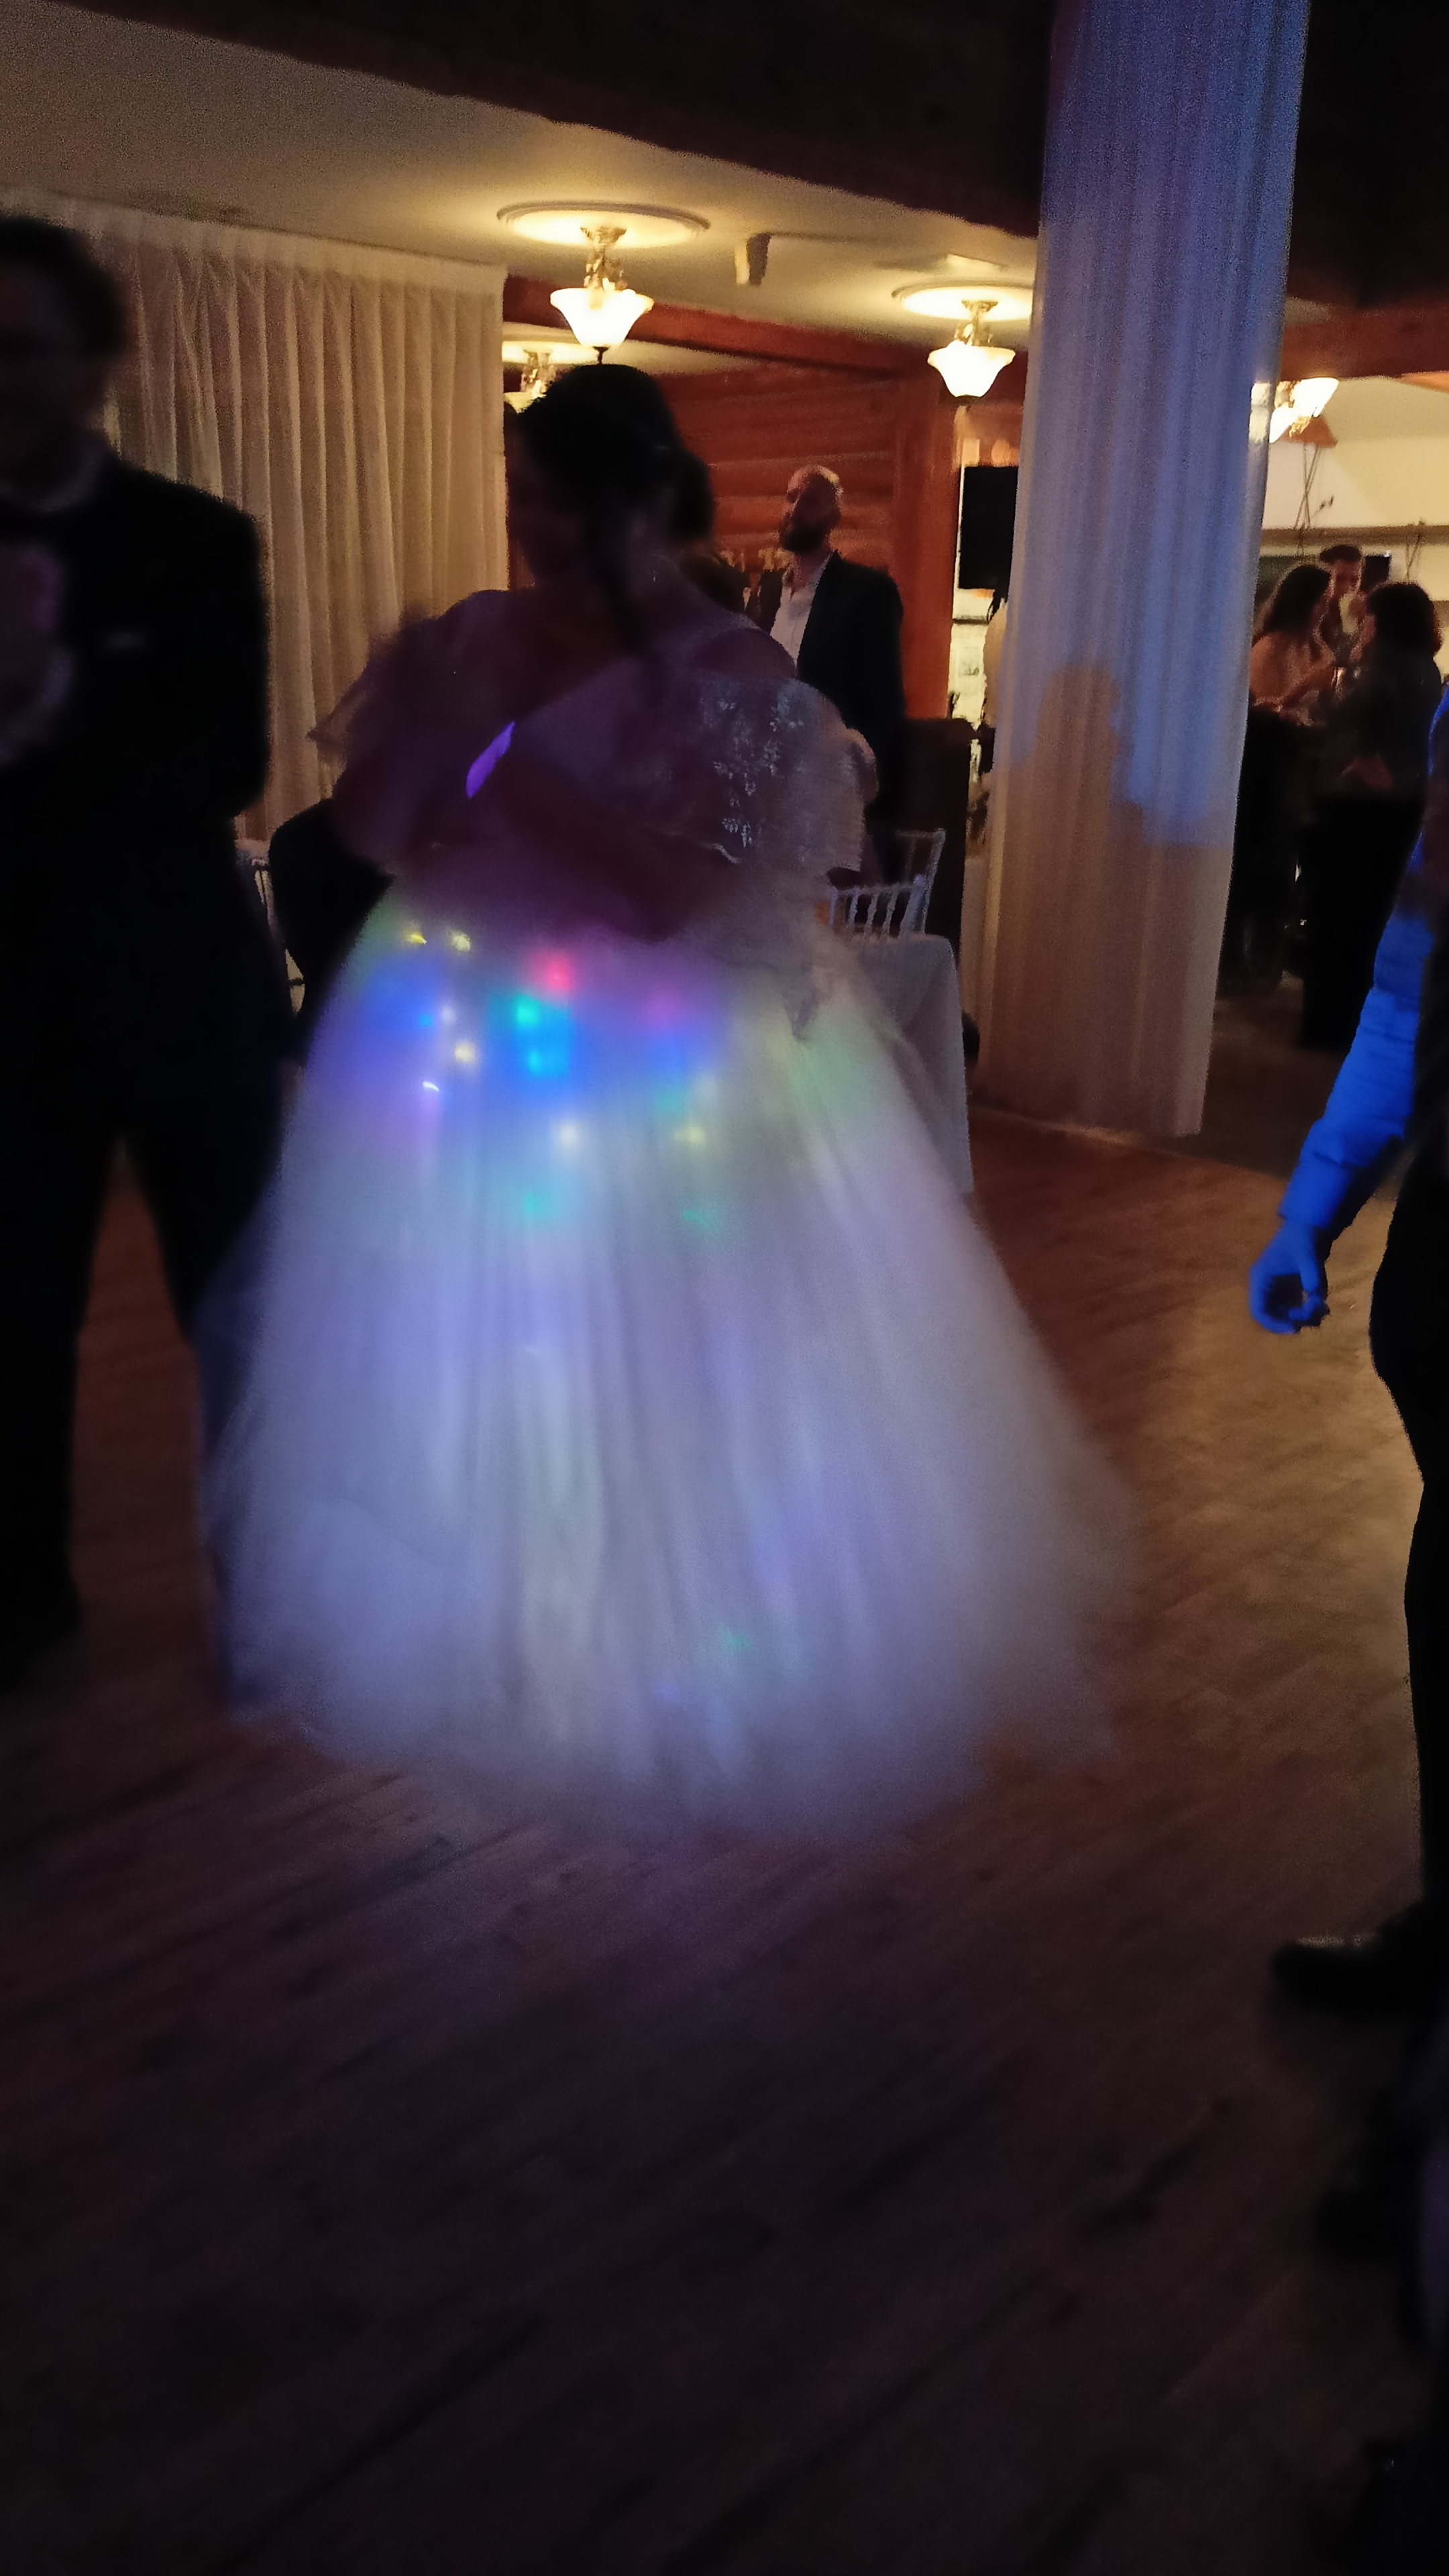
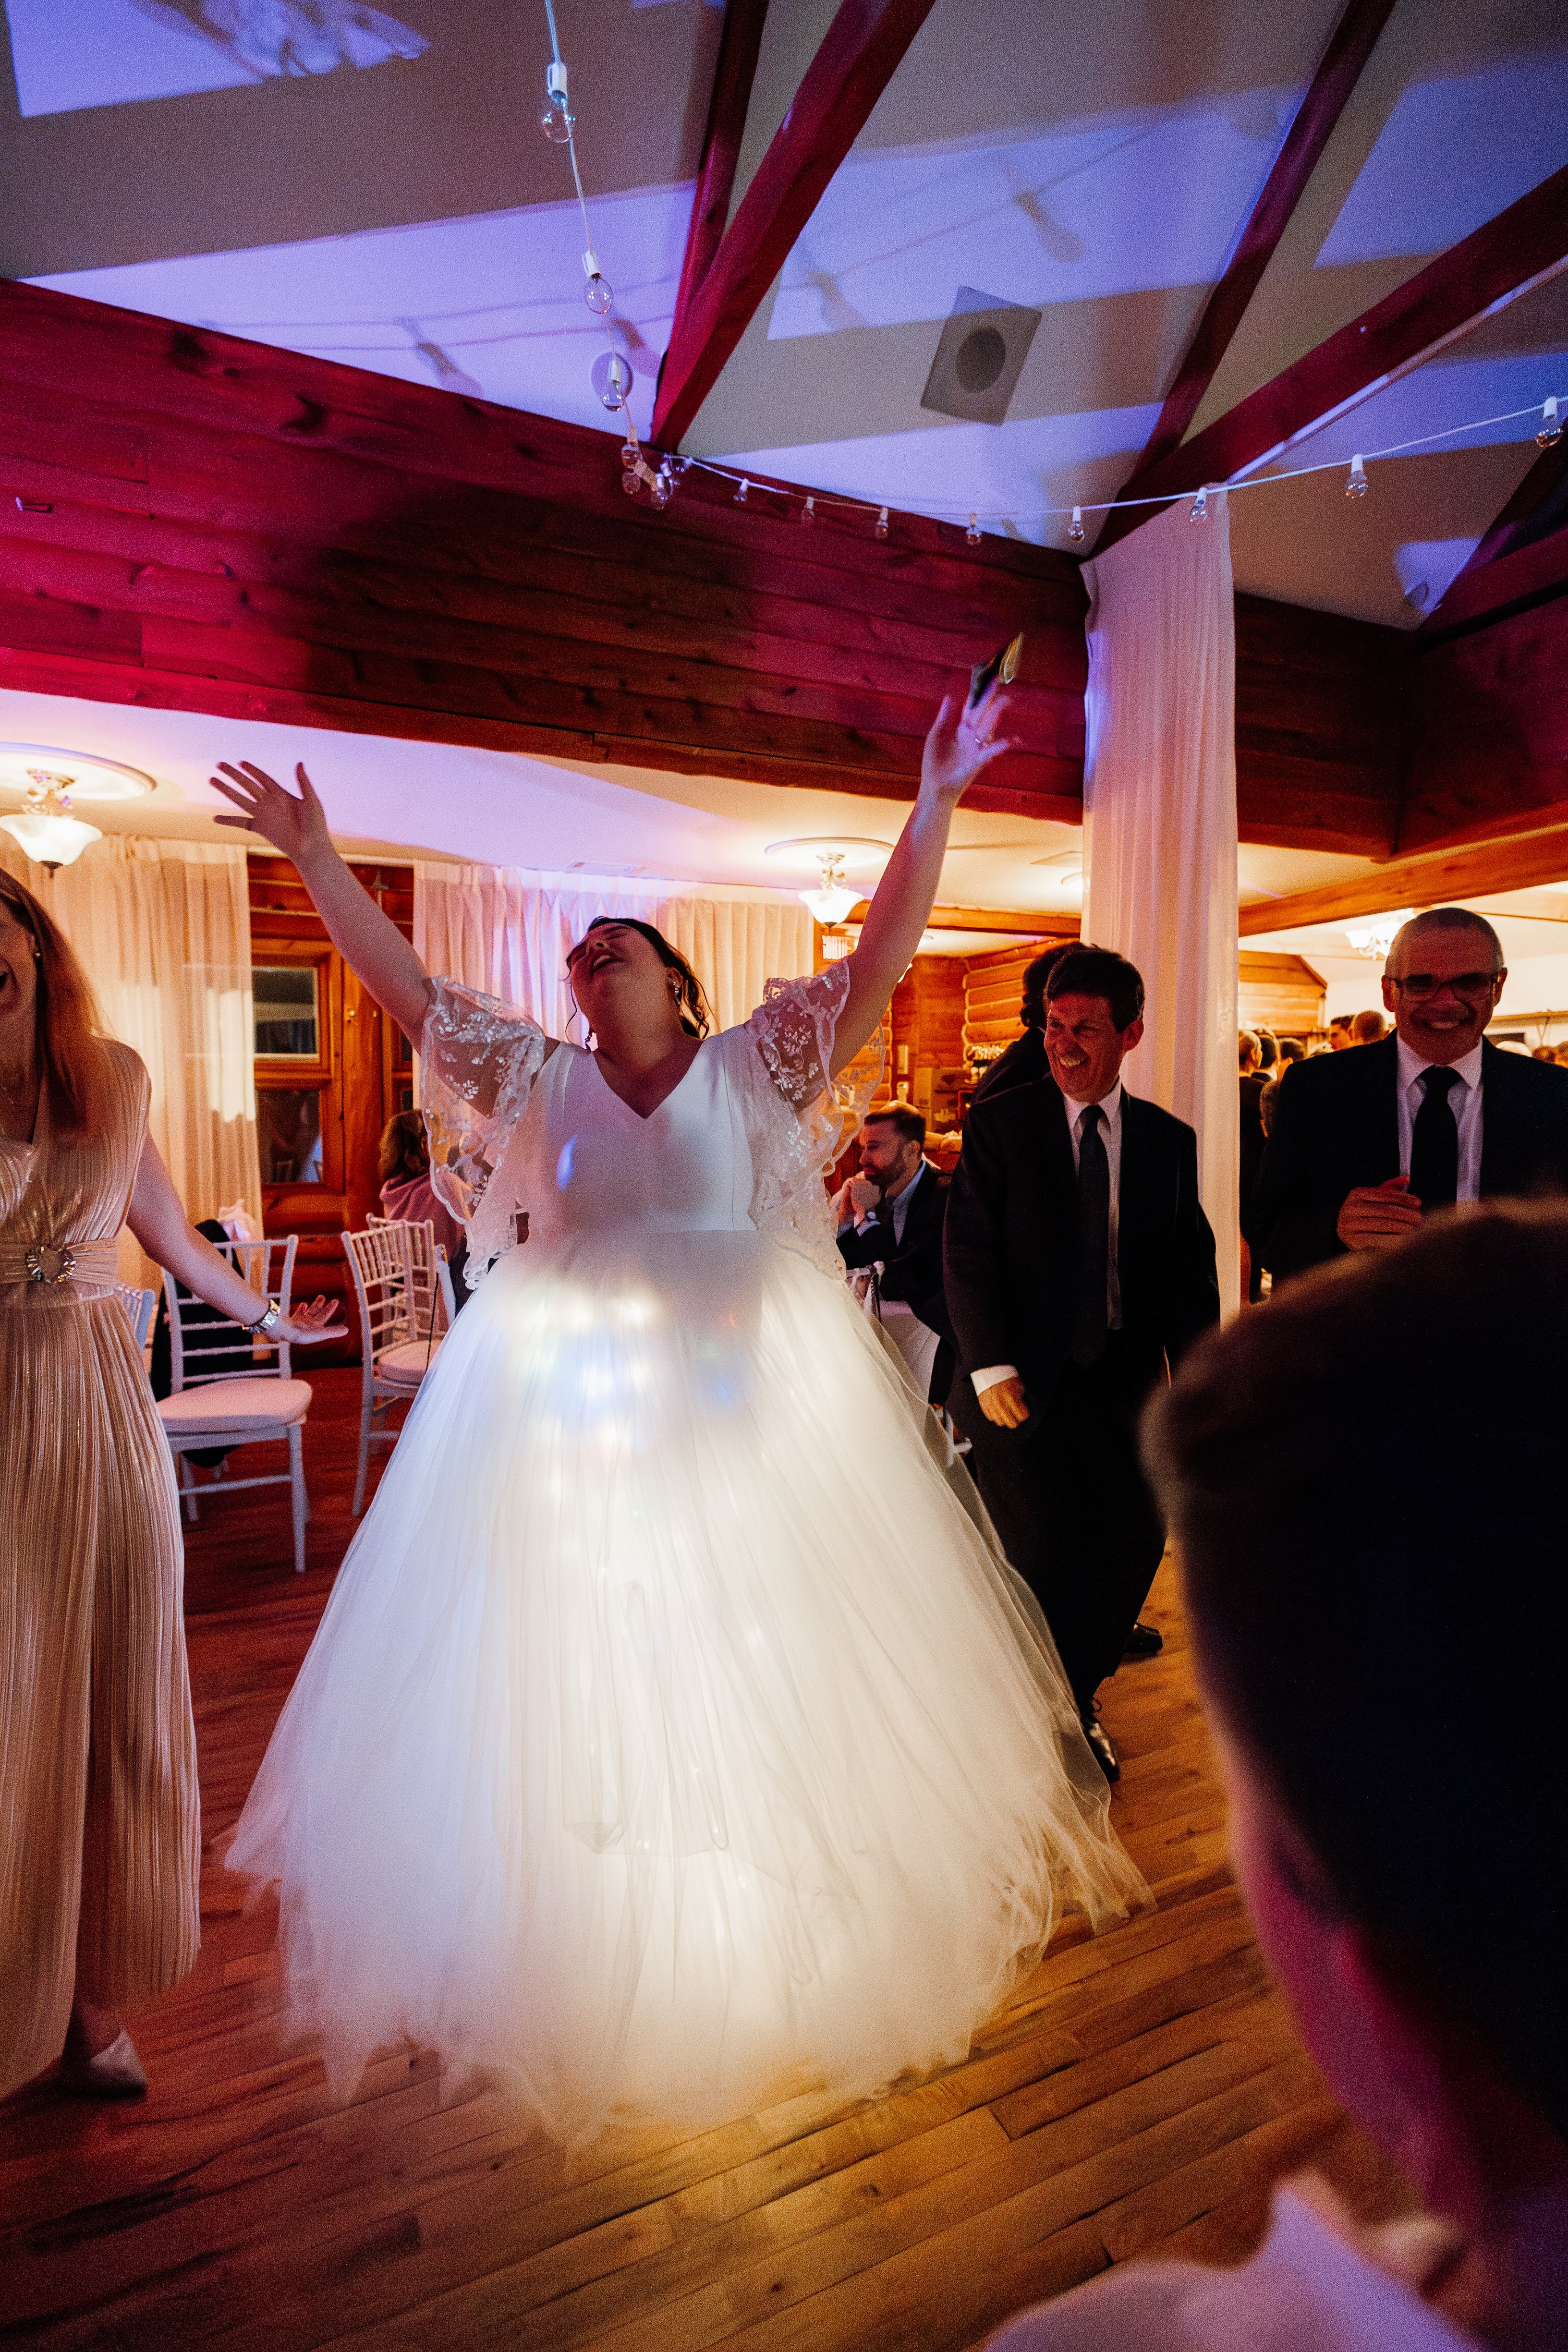
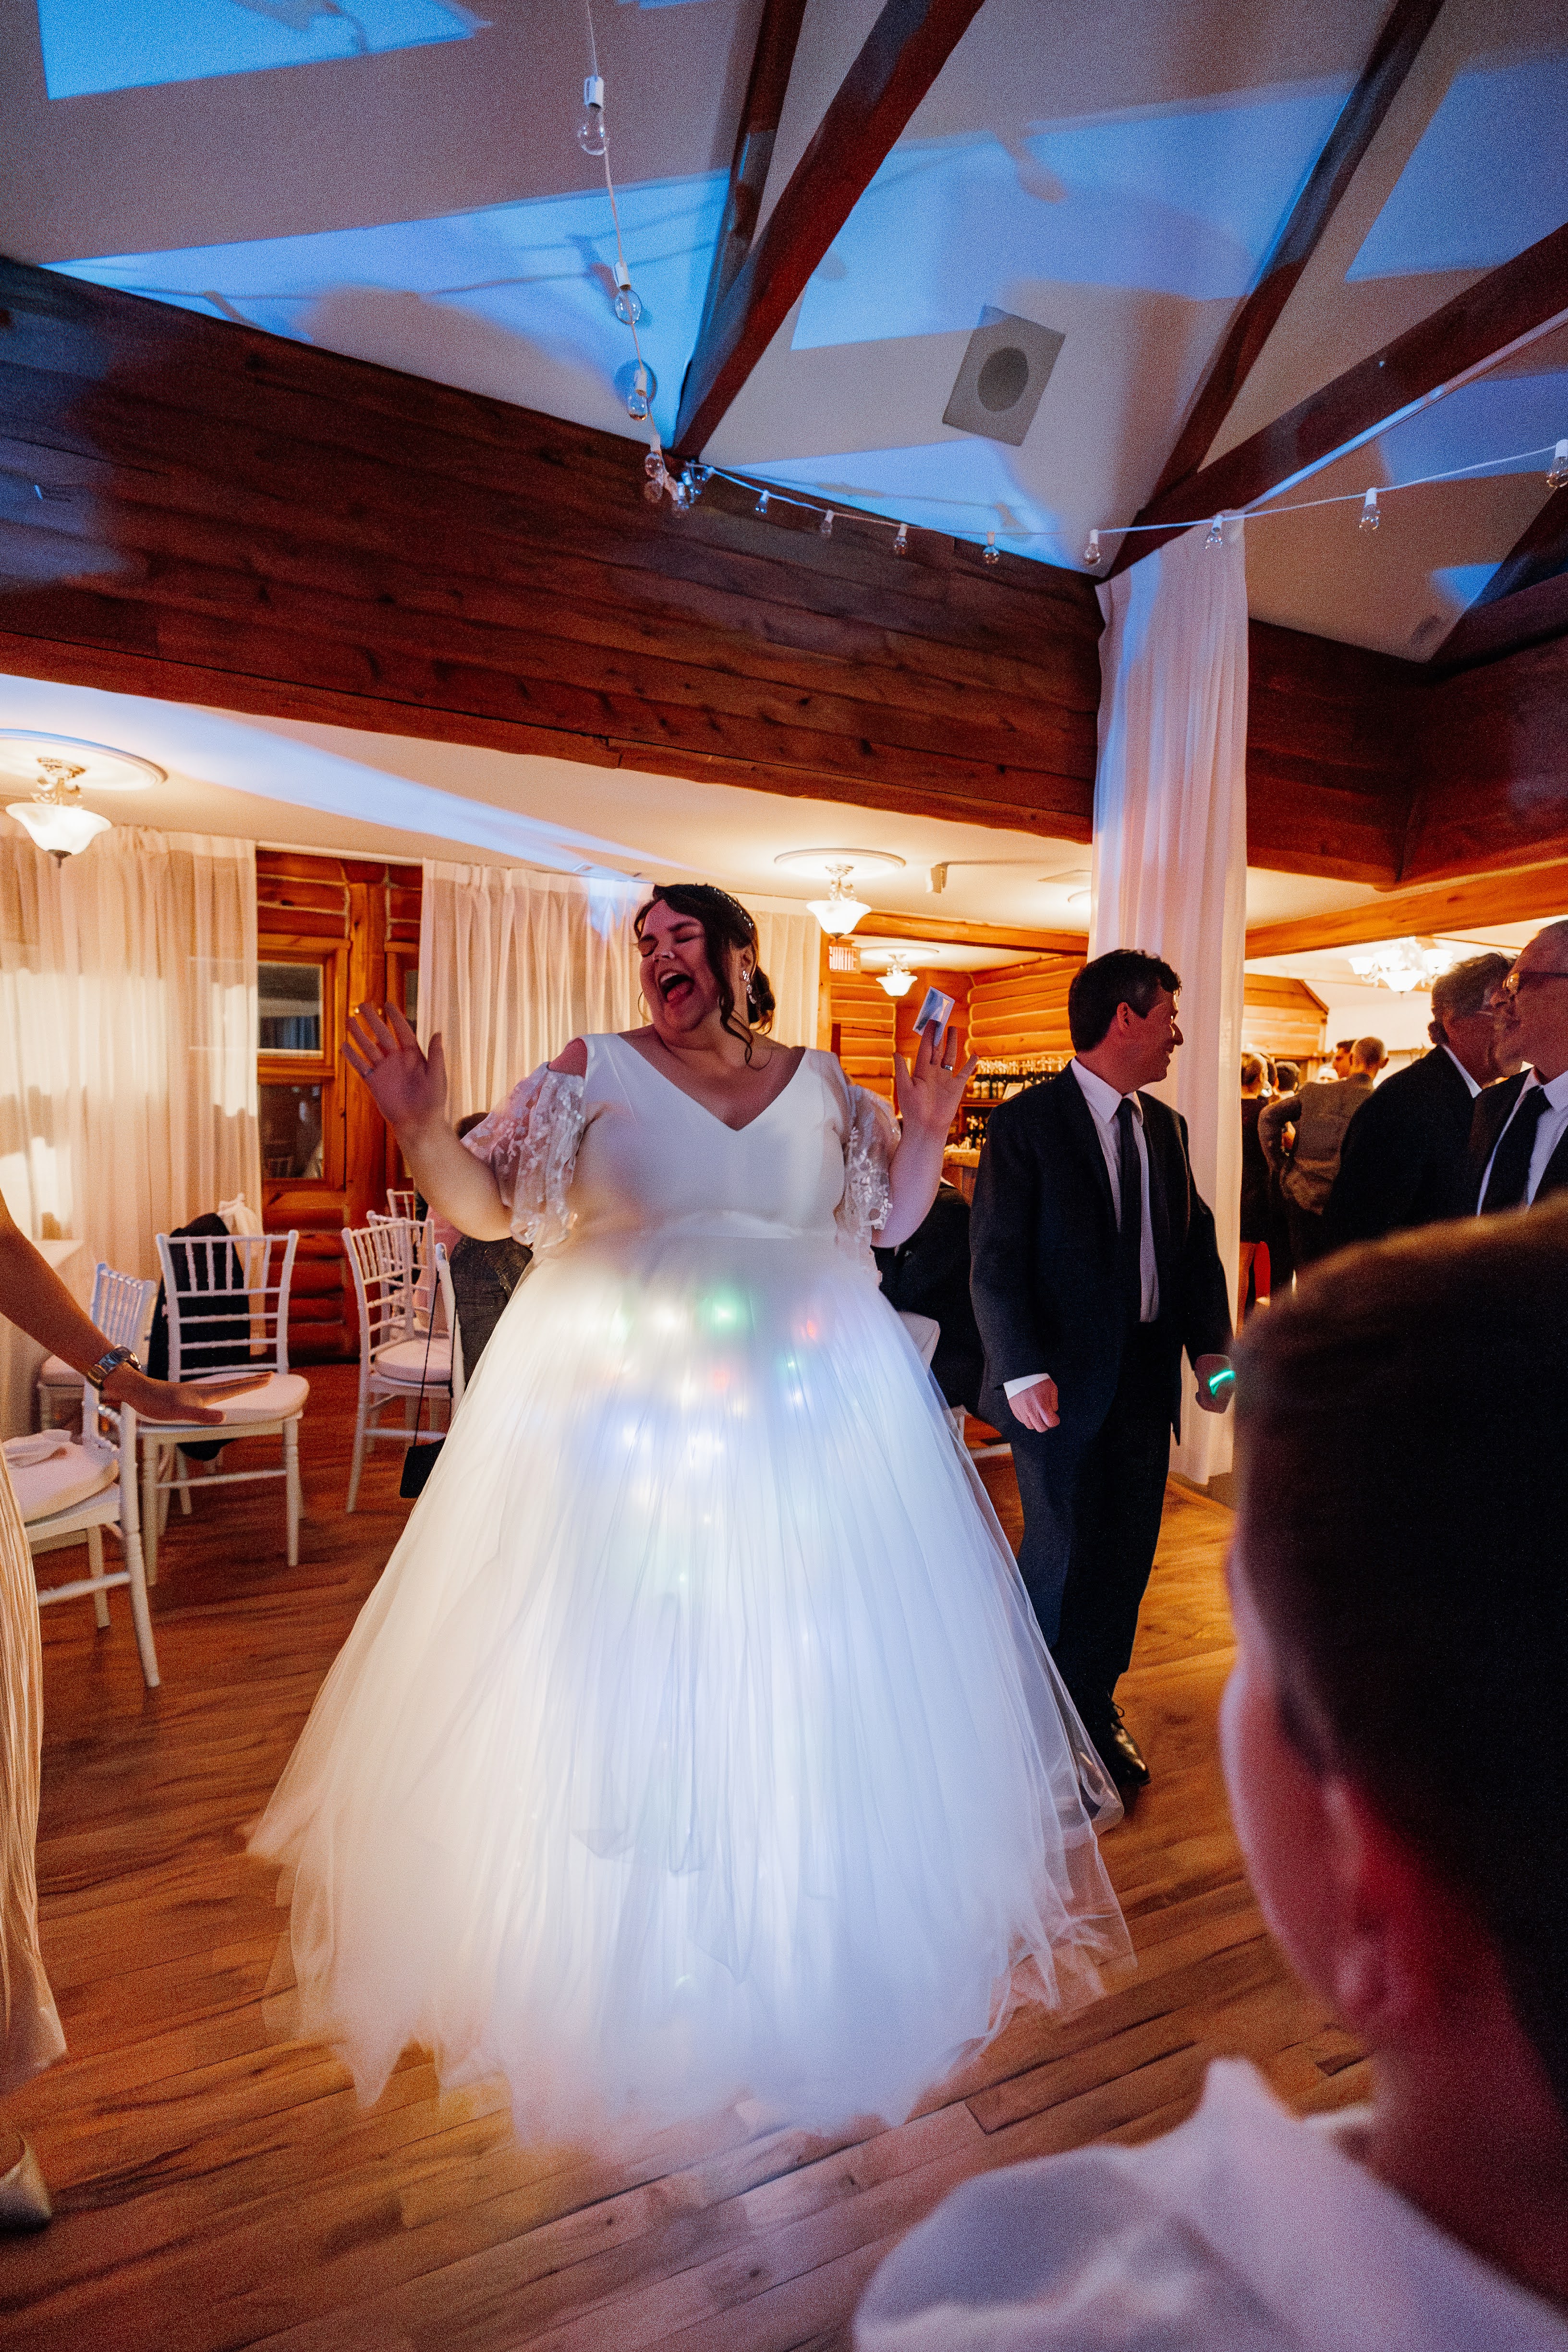
The final product has approximately 300 LEDs in it, on 30 meters of wire, run throughout the skirt. An ESP32 board controlled six H-bridges with PWM signals using a pile of C code I wrote, to power the LED strands with reversible current for selecting white or coloured. This board was enclosed in a 3D printed case, and was hidden out of sight in a pocket in the dress. Catherine and her mom sewed two metal buttons onto the back of the skirt which we hooked up to capacitive touch sensors on the ESP32 to control the colour and select from five patterns for the lights. The whole thing was powered by a cell phone battery pack that went into another pocket in the dress.
Anyways, June 17th, day of the wedding, I actually found a date, show time! Long story short, everything worked perfectly! I did not have to break out the soldering iron or other tools I had stashed in the back of my friend's car. Catherine did her grand entrance at the reception with the white LED lights on, and it really wow'ed the crowd! The multicoloured “party mode” came on when the dancing started later in the night.
Possible Improvements
Looking back on the project, on what I might improve, I can think of a few things:
- Replace the hand soldered proto-board with a dedicated PCB. I think this would shrink the form factor by a decent amount. Extra components from the ESP32 board could be omitted, like the bluetooth and WiFi modules, which should save space and cost. Some of my solder joints were also a little weak, and caused some small flickering during some of the more energetic dance moves.
- Improve how the LED strands connect to the controller board. These could be a lot more robust than the little breadboard wires plugged onto pins, even if the case did hold those in place while the lid was closed. Something like JST connectors would probably work well.
- Swap the capacitive buttons for something a little more reliable. The capacitive touch sensors were great, but had a bit of tendency to trip accidentally. They have a software set threshold for triggering, which requires some fine-tuning, and unexpected things like sitting on a metal chair or things getting humid can trigger false positives.
Build Montage
First time turning on the lights
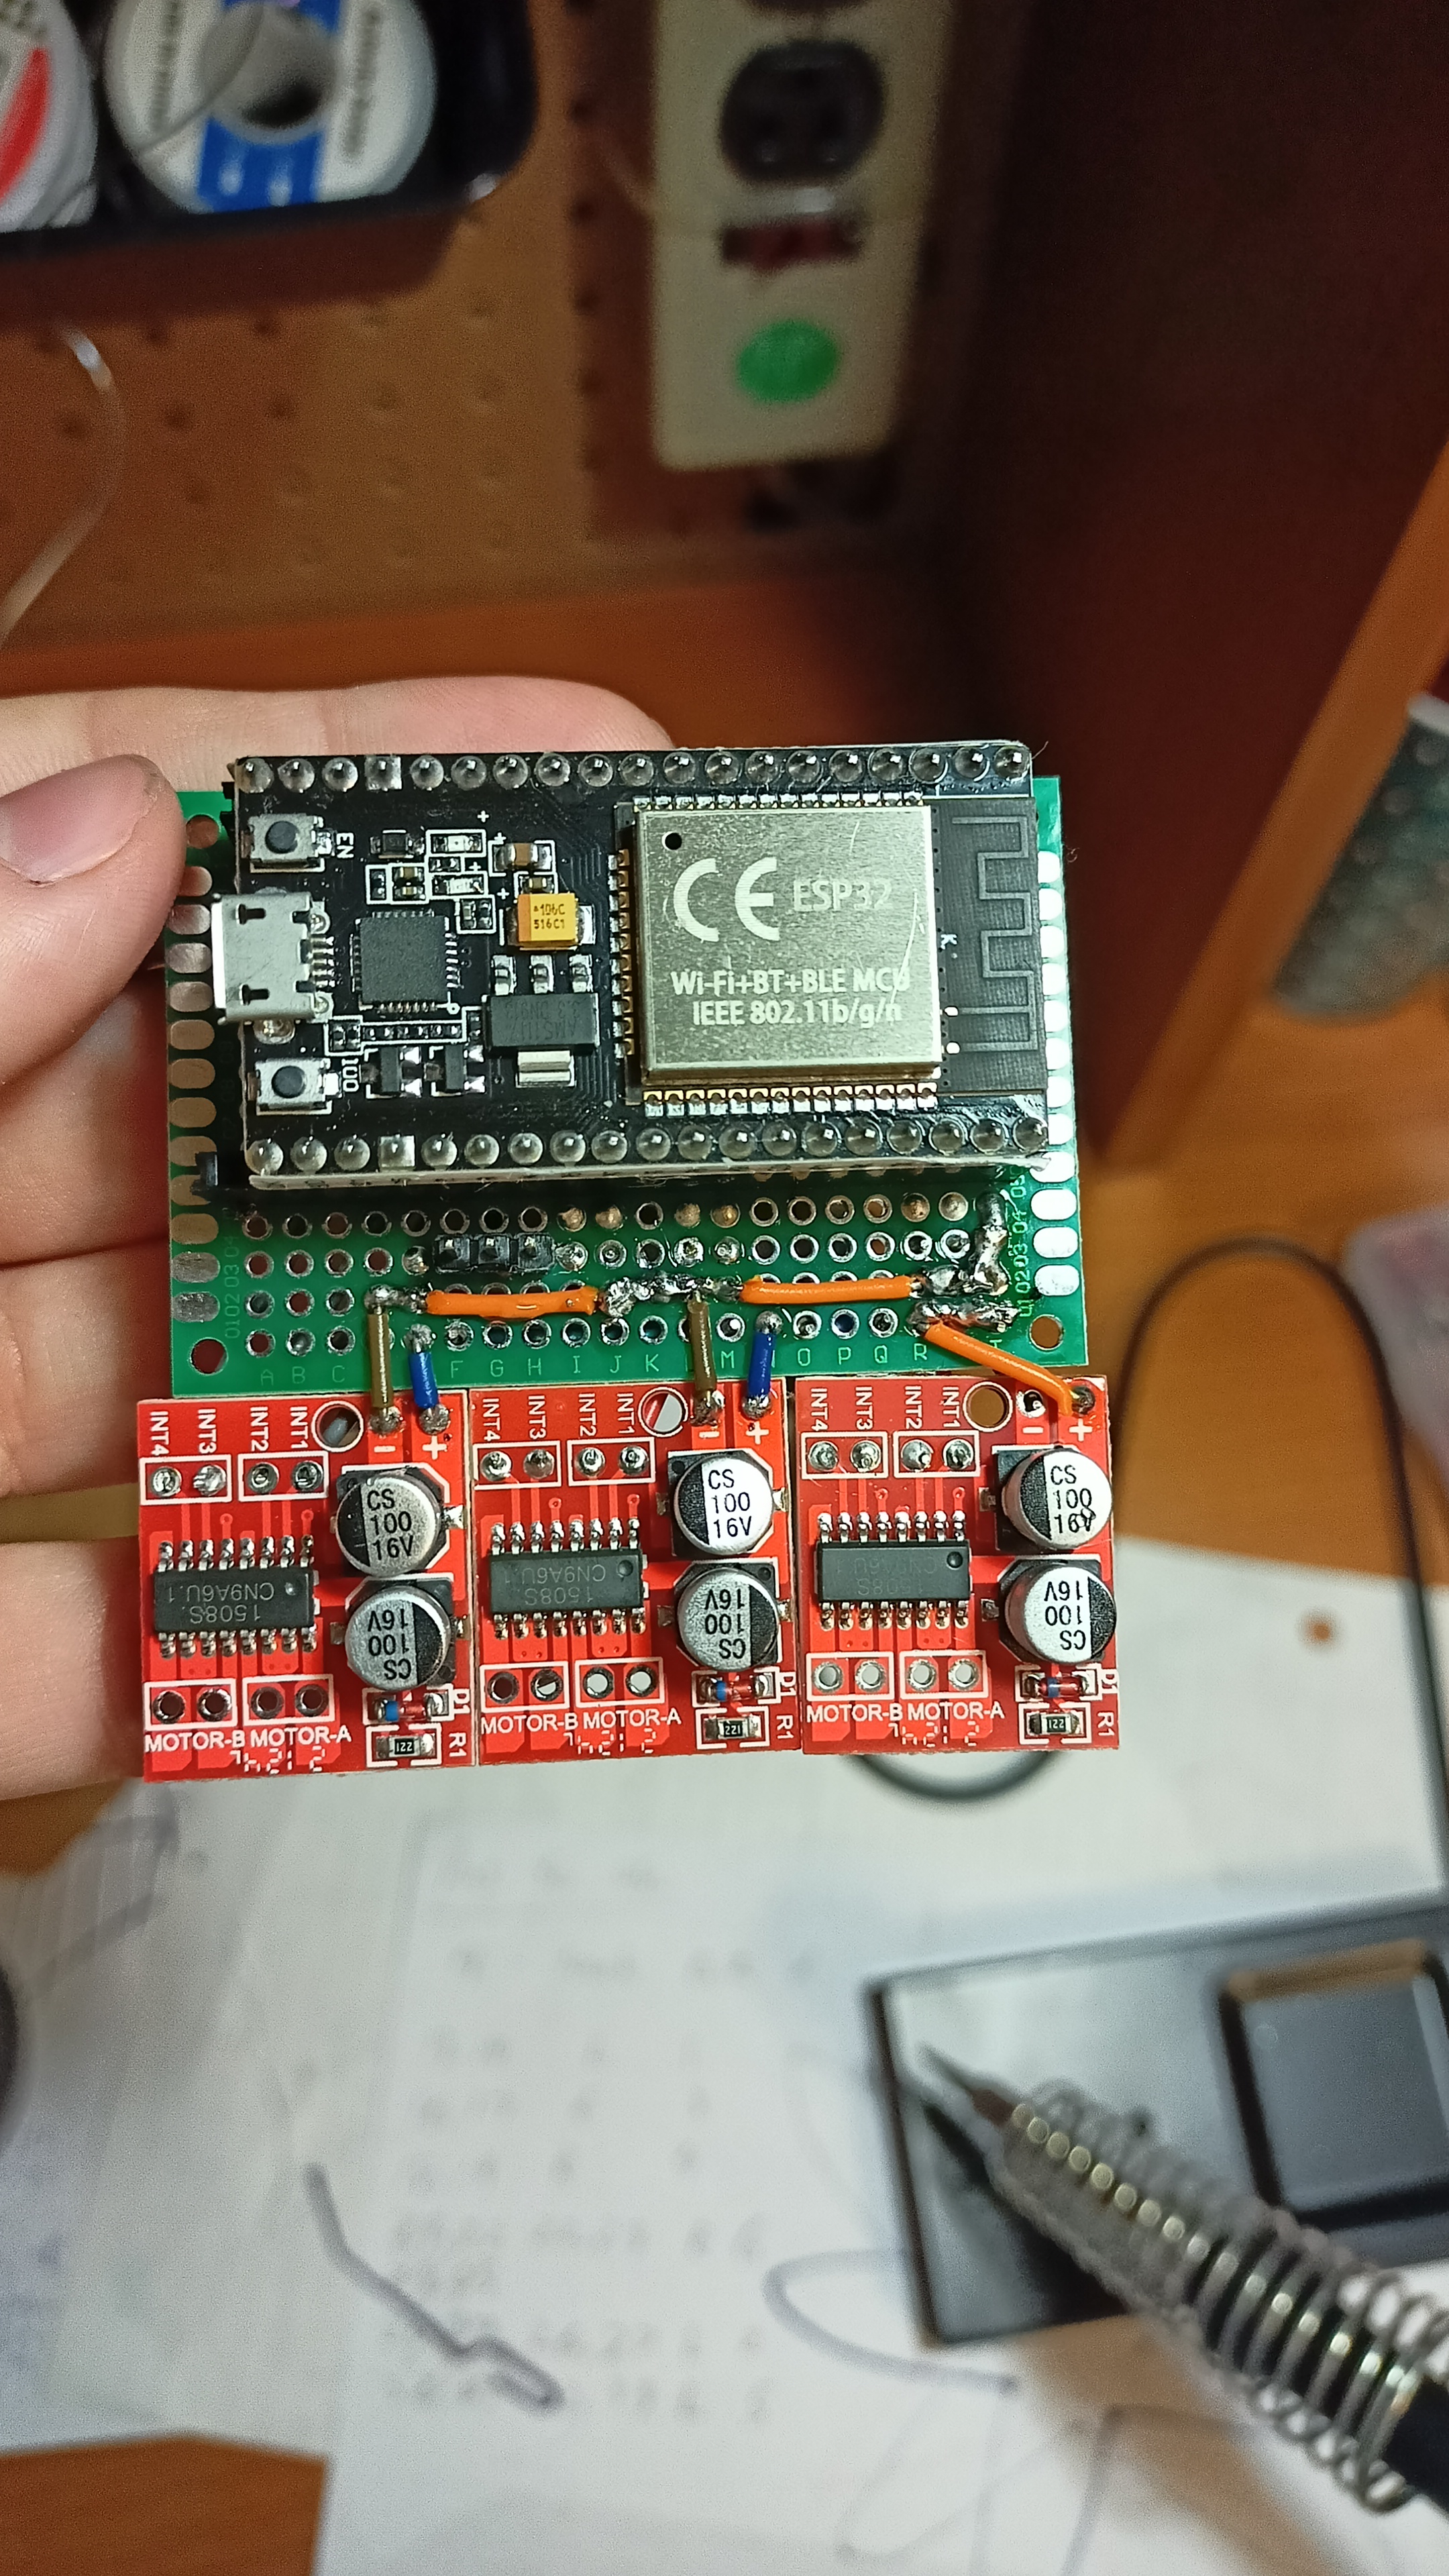
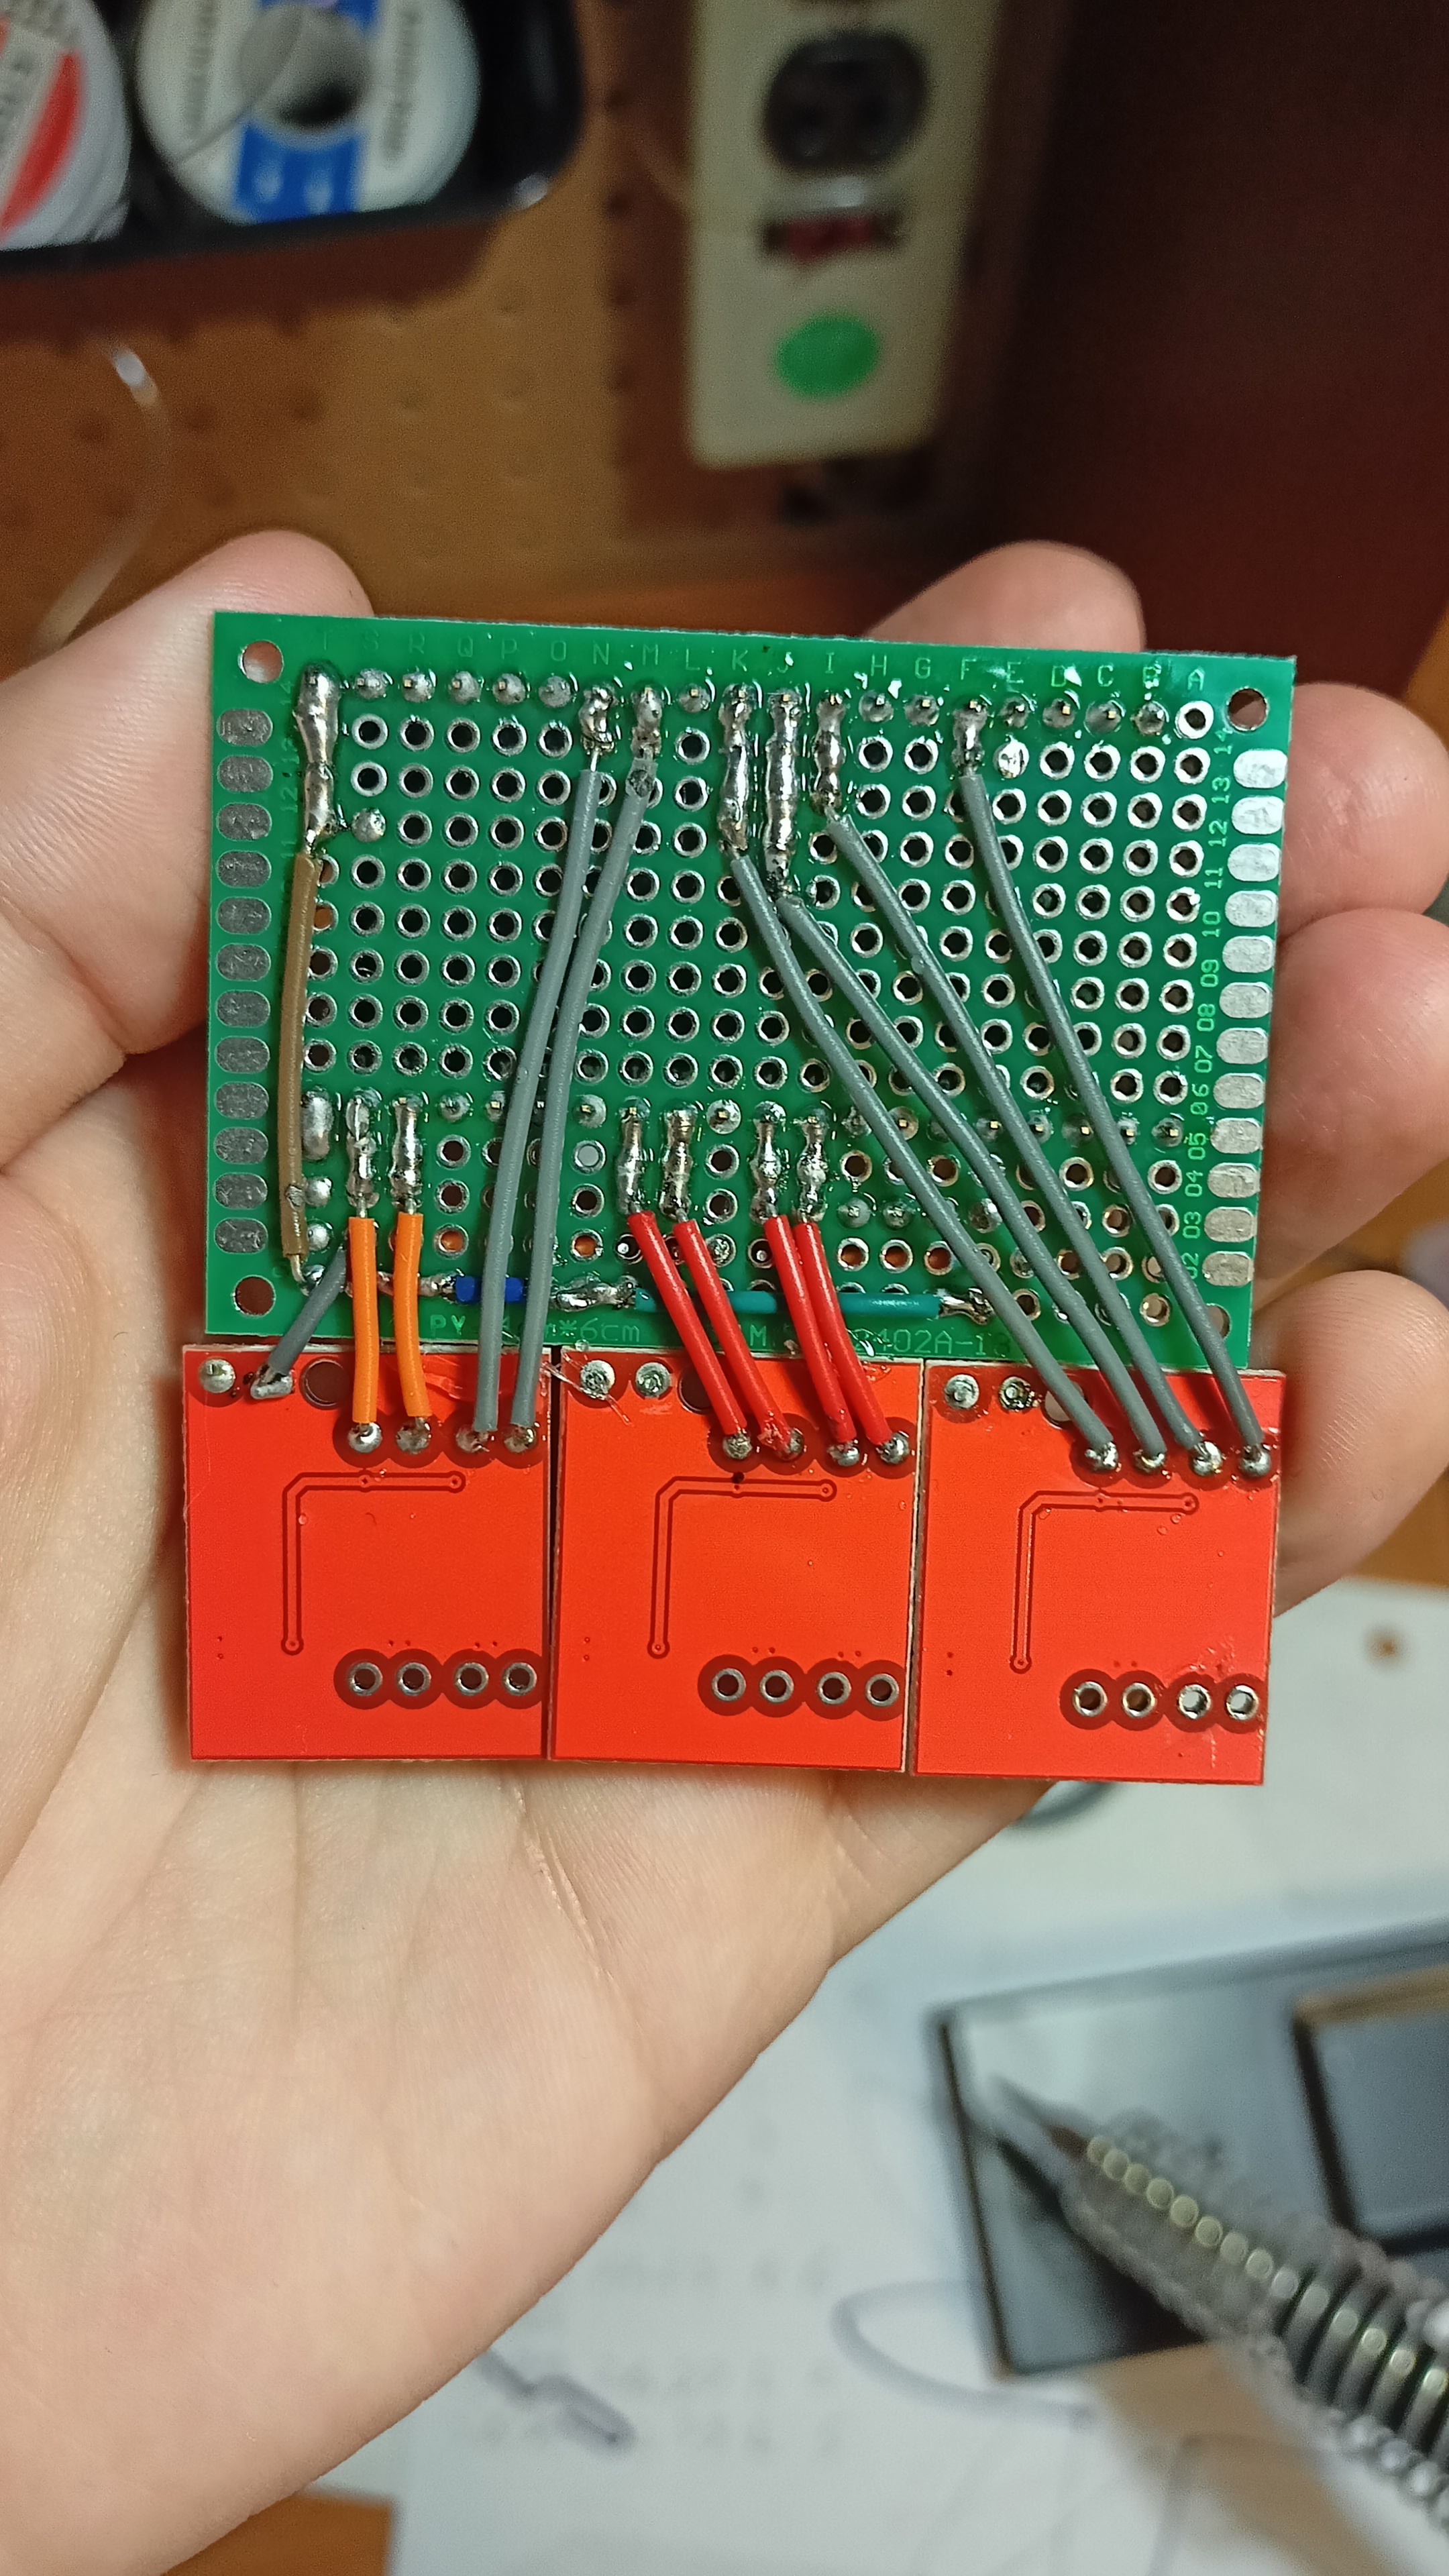
Fully soldered protoboard. The ESP32 board controls 6 H-bridges (red parts) with PWM signals to drive current bi-directionally through the LED strips either white or colored
Controlling 6 LED strips in a rotating wave pattern
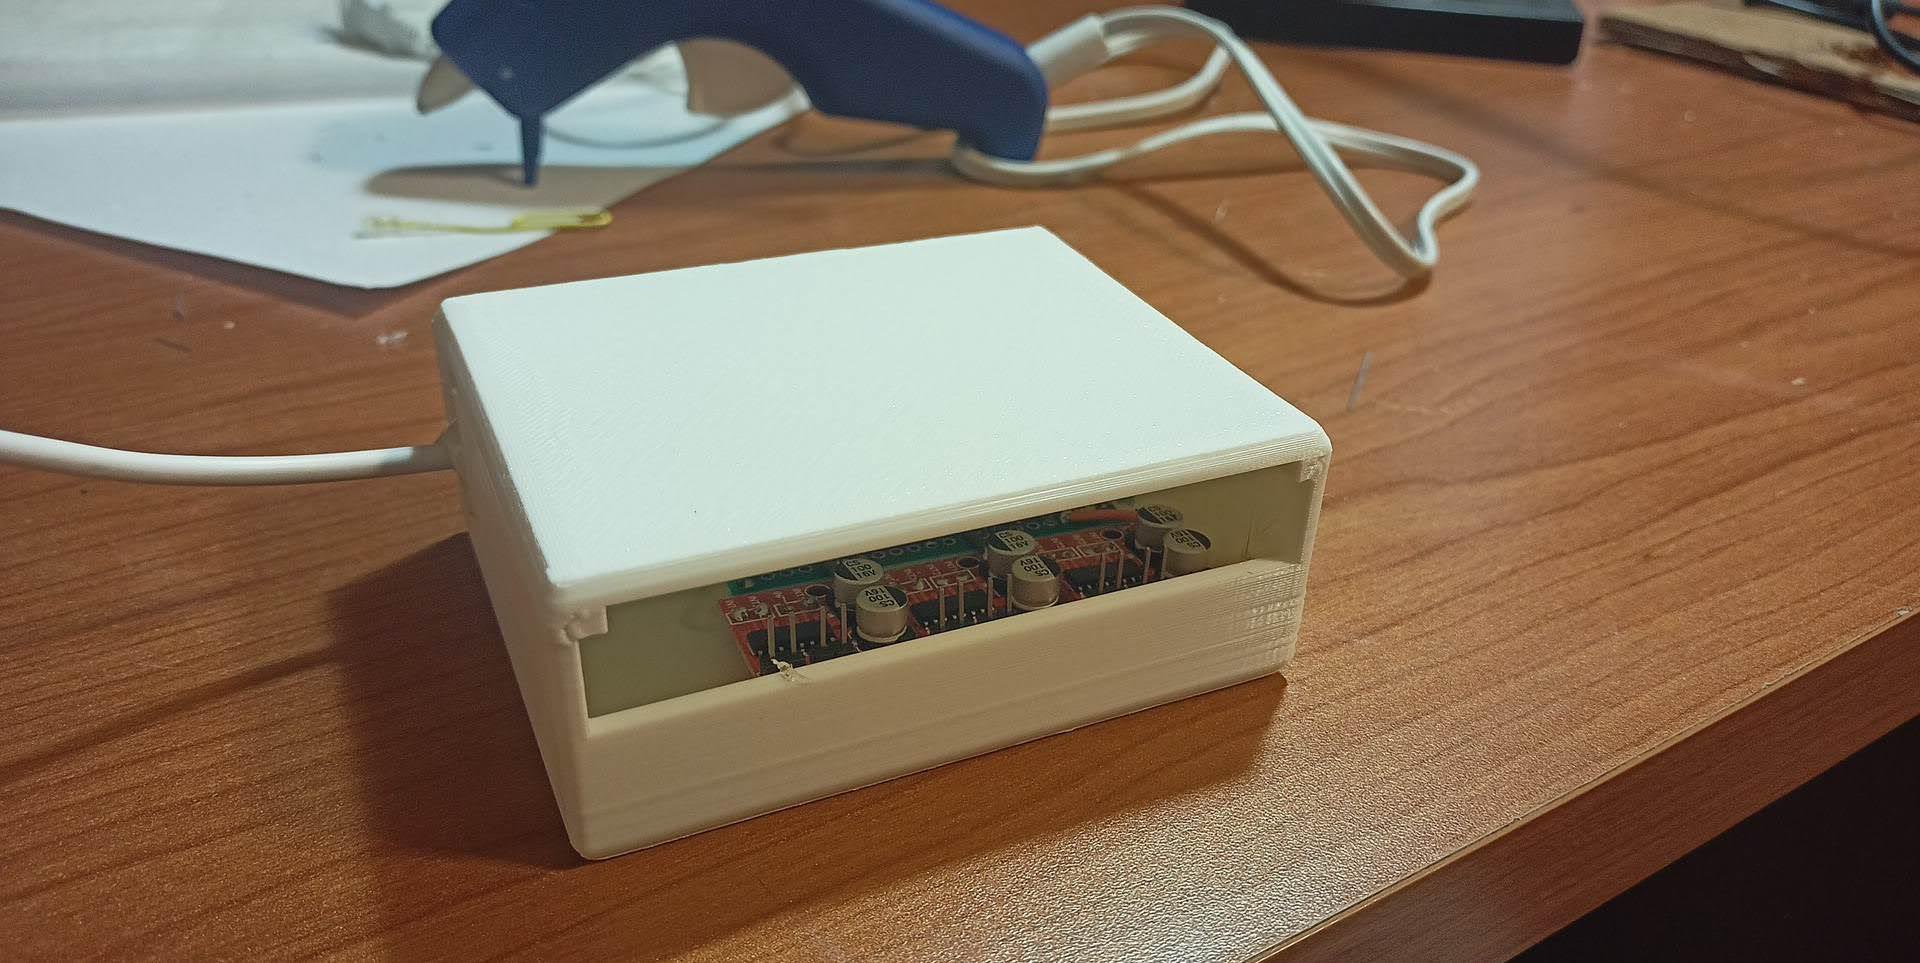
Board placed into its 3D printed enclosure
3D Models of top and bottom pieces of enclosure. The top slides along built in rails on the bottom and friction fits snugly into place (like a TV remote battery cover)
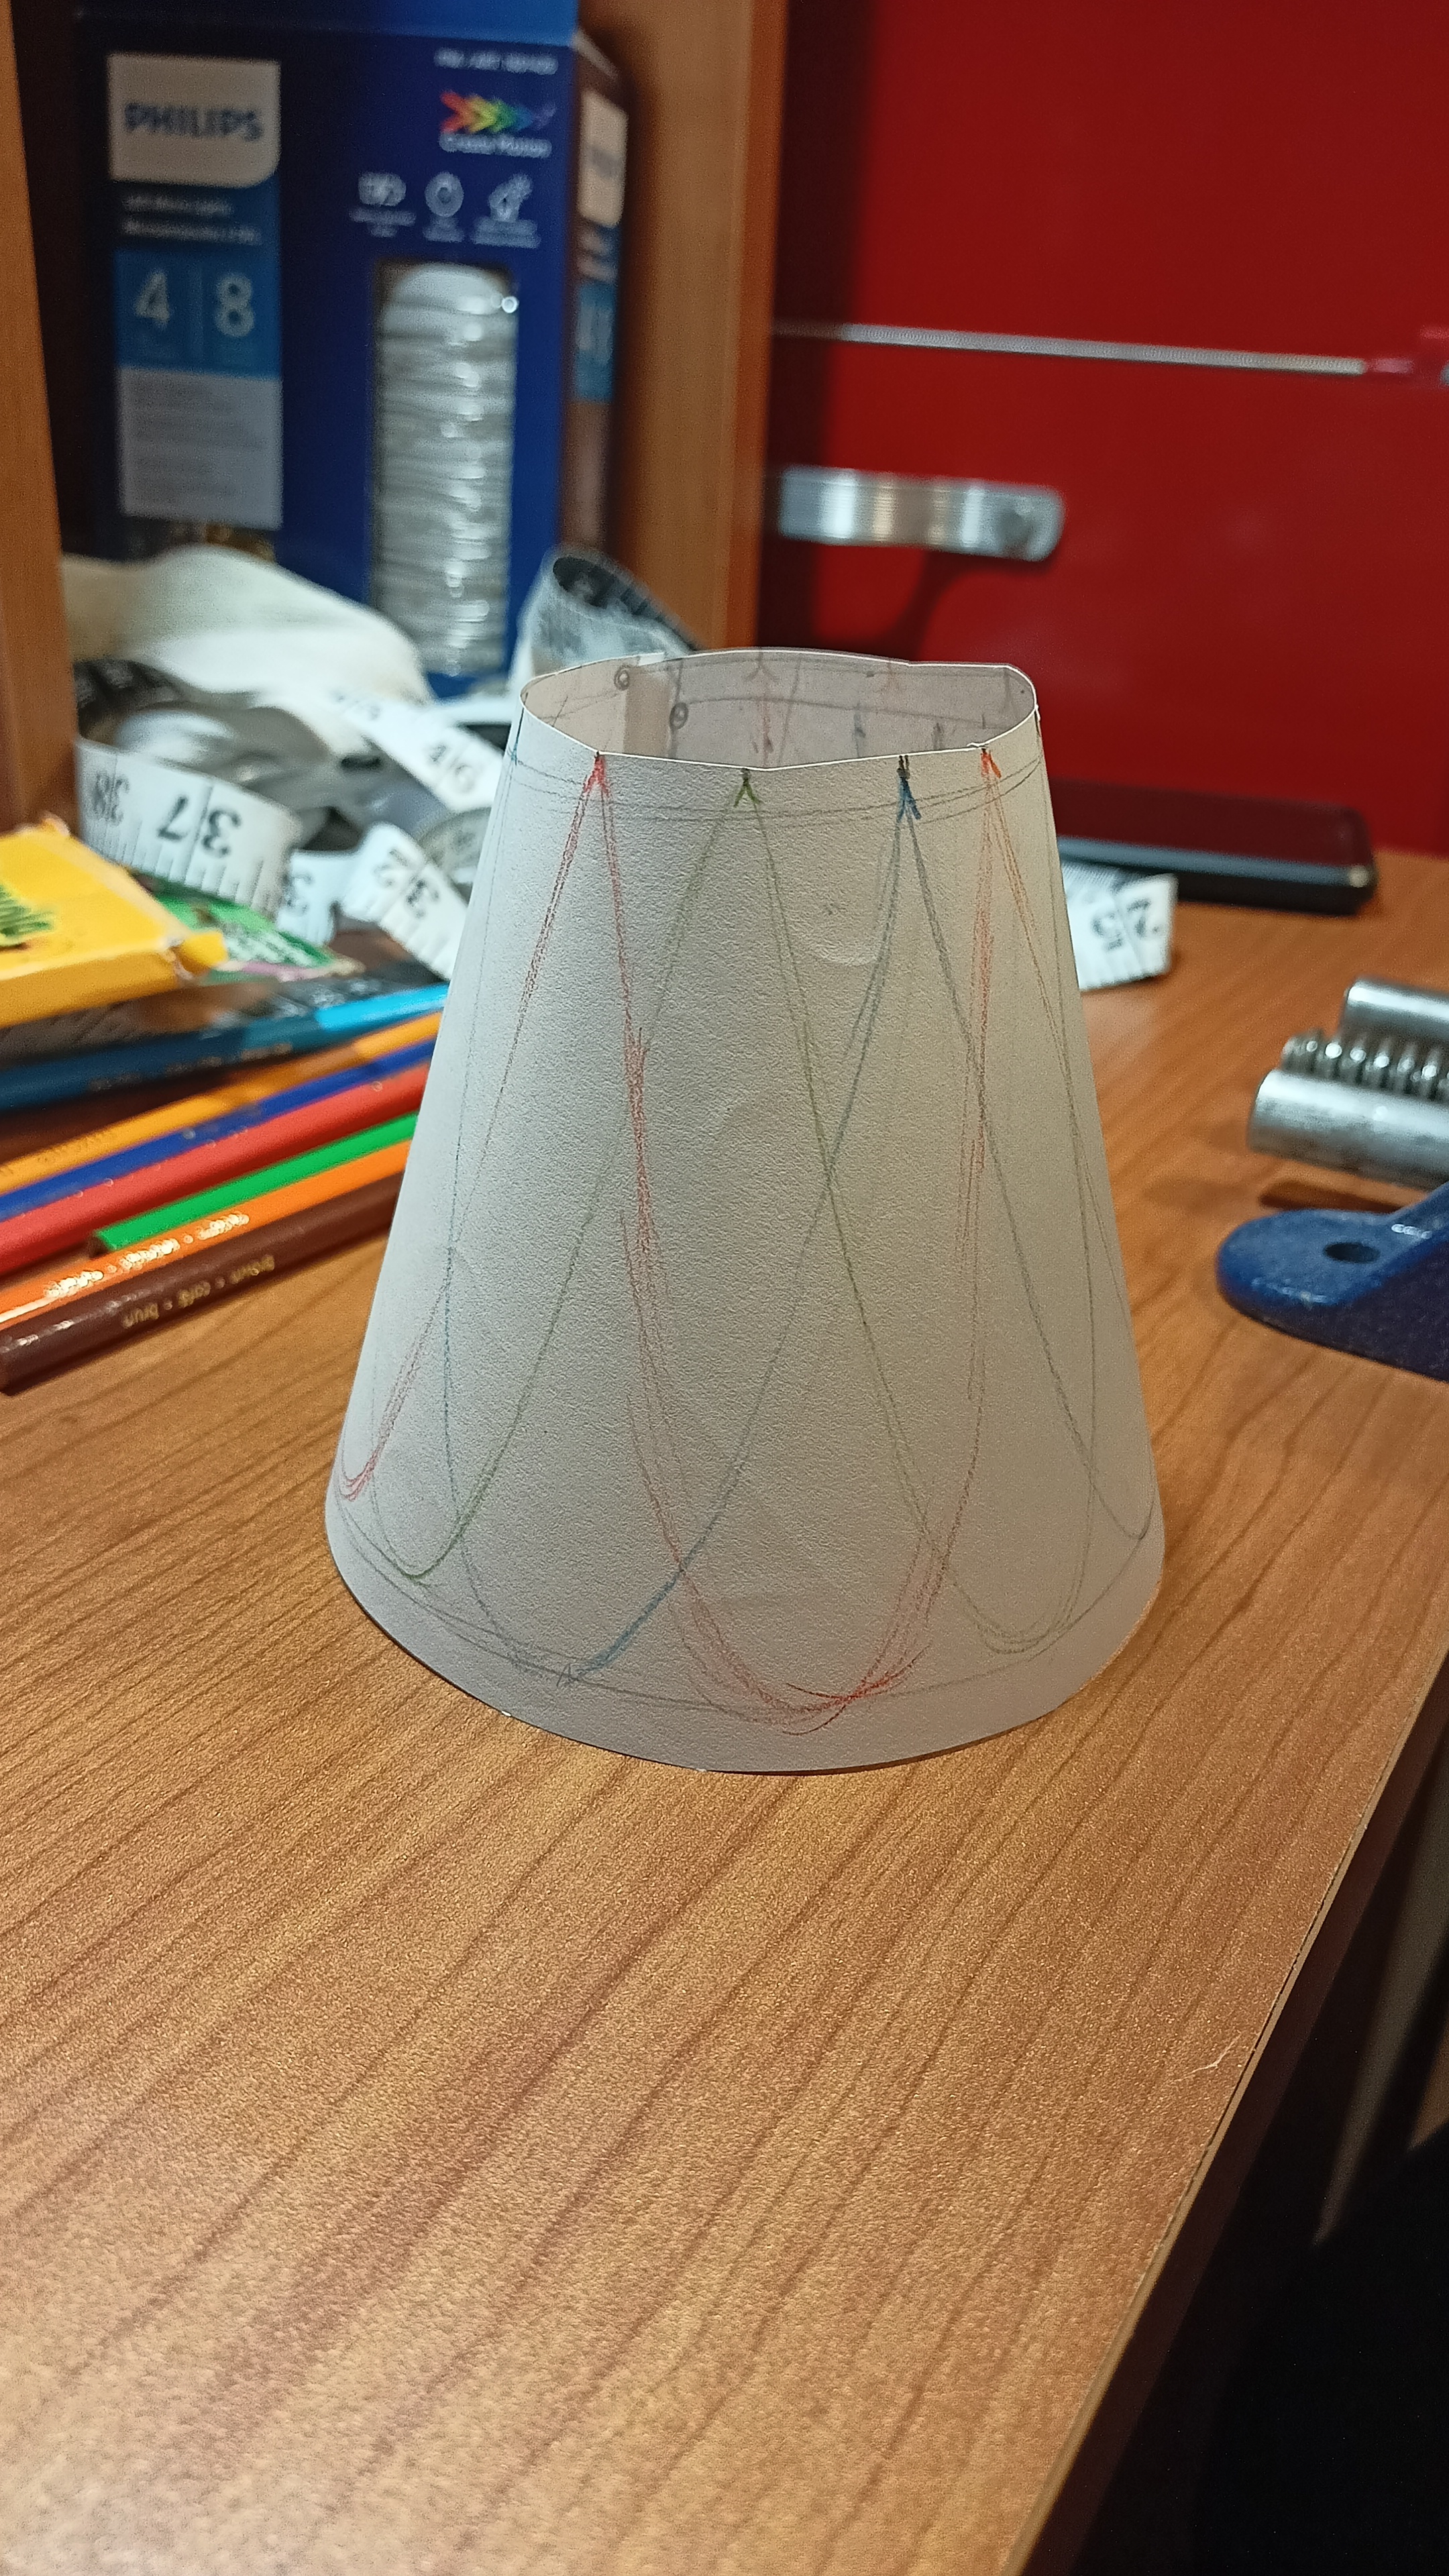
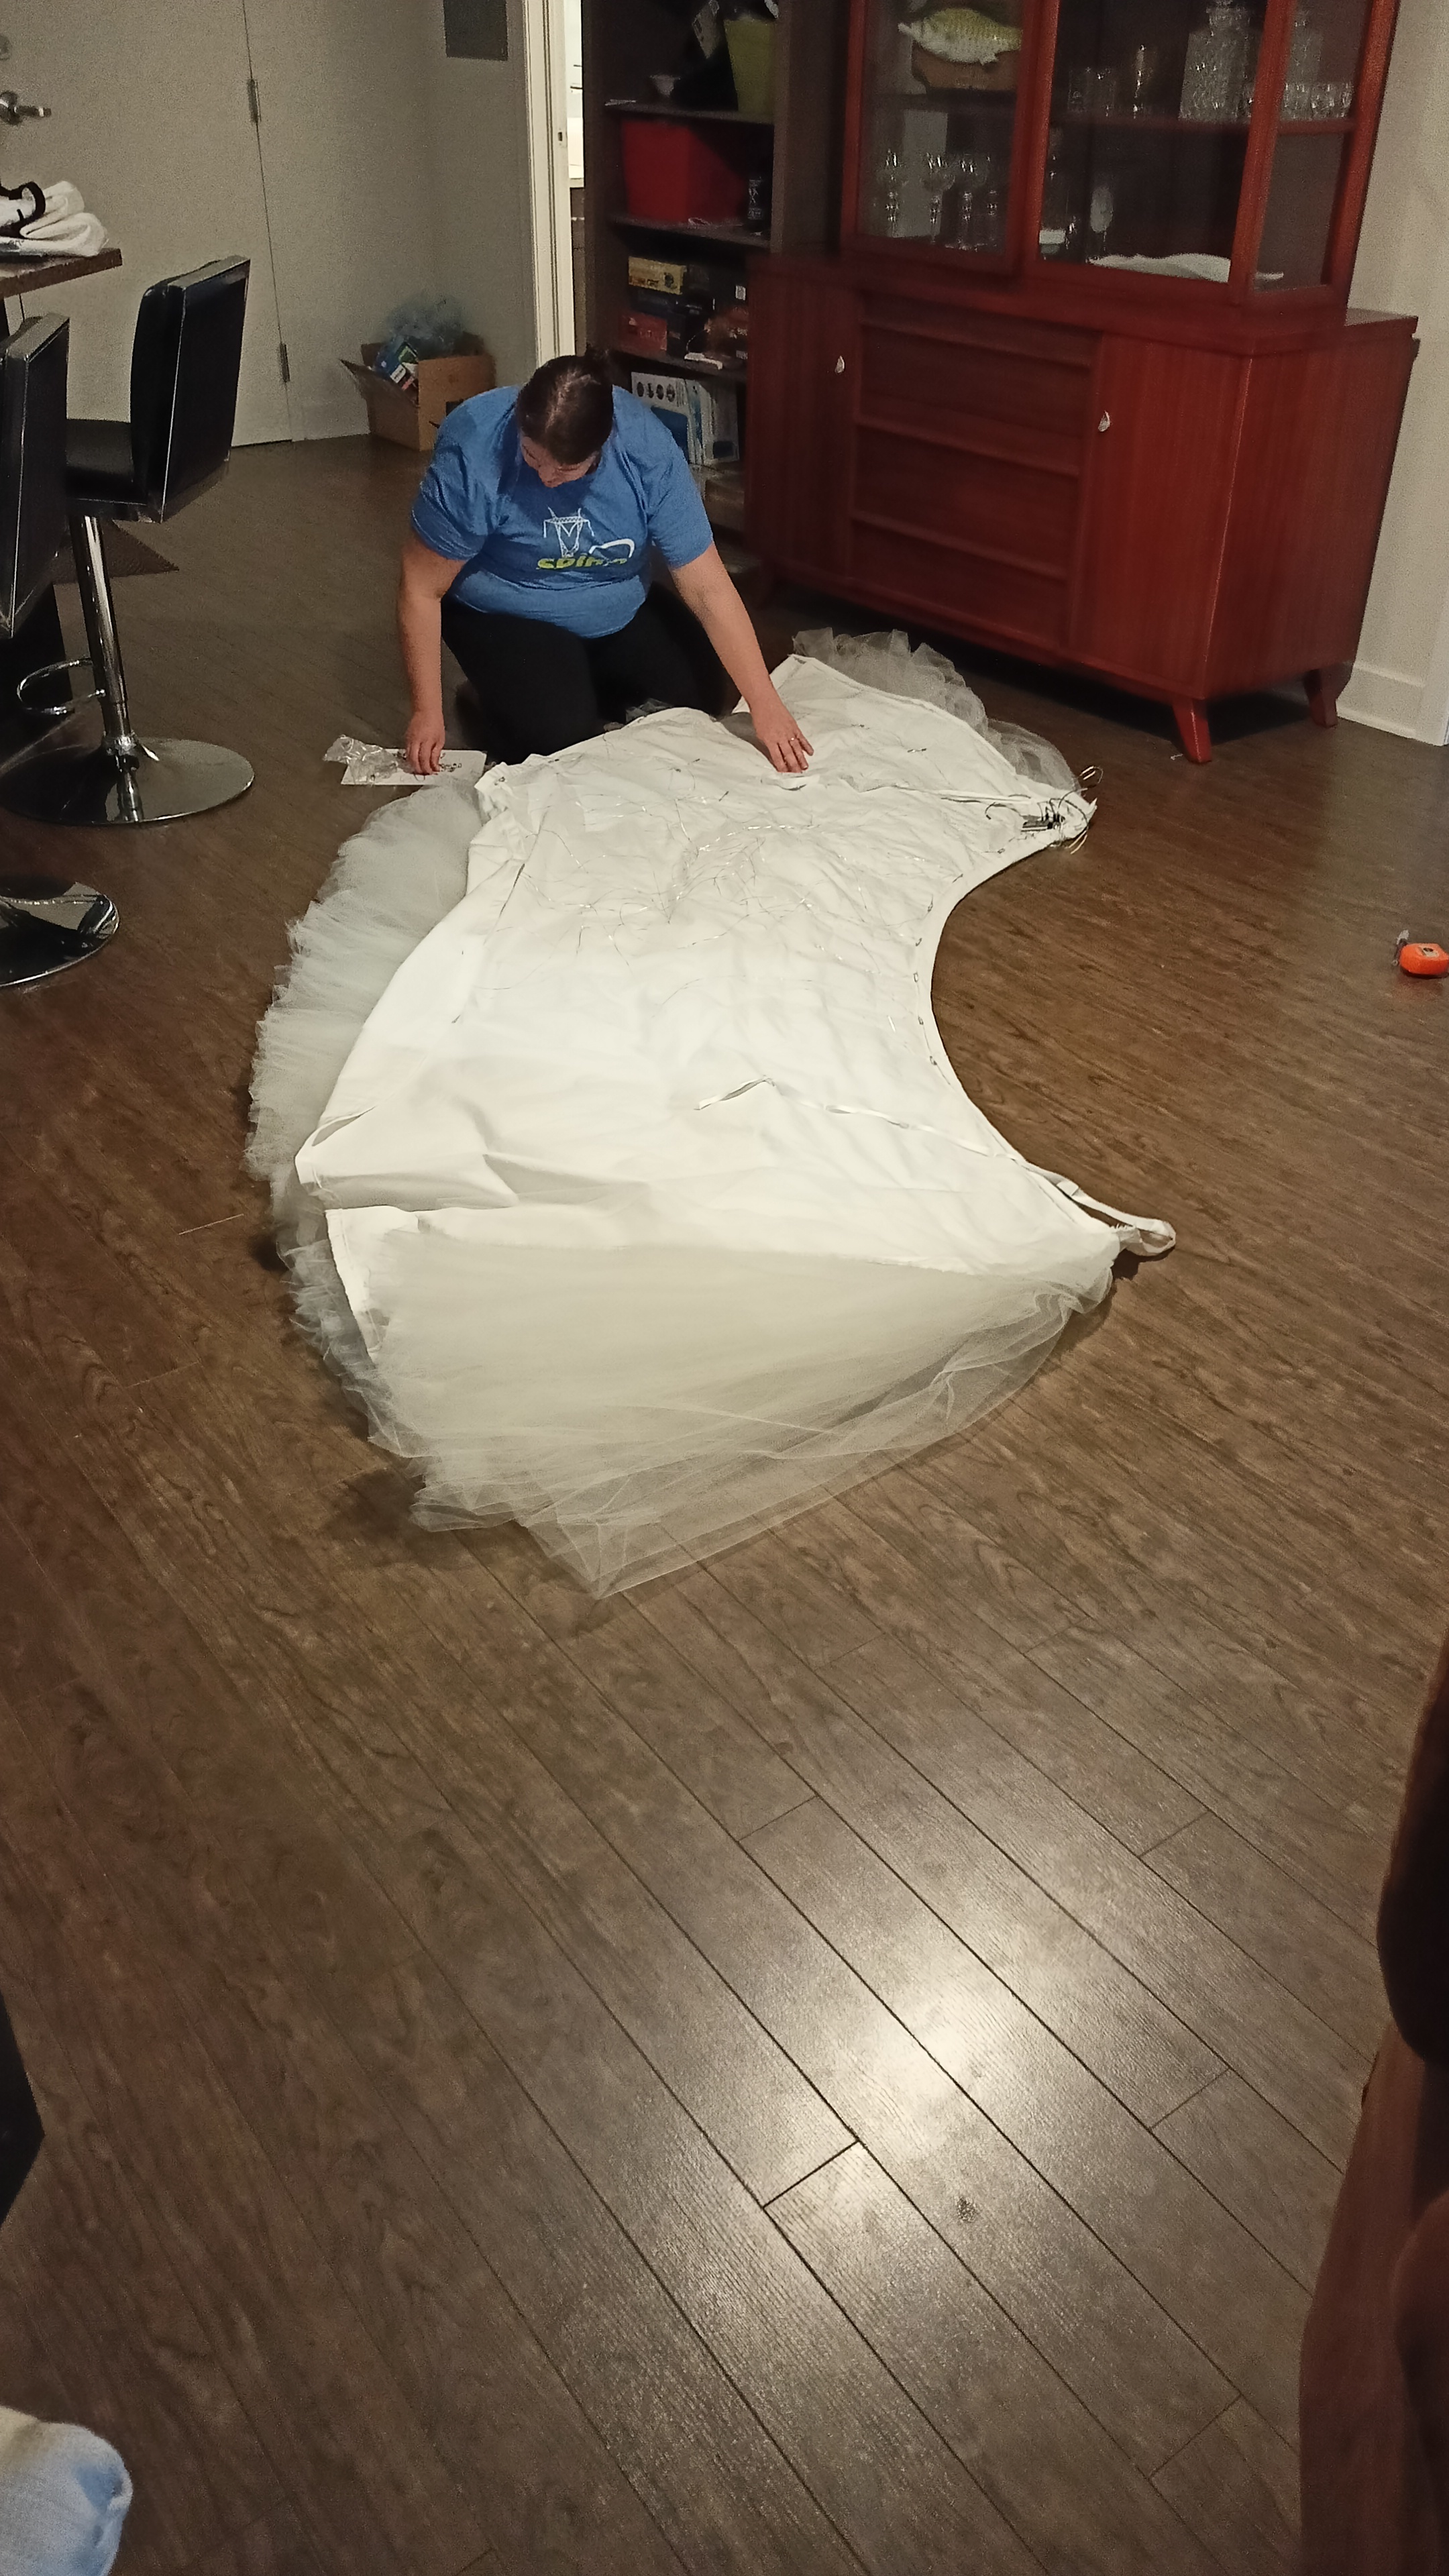
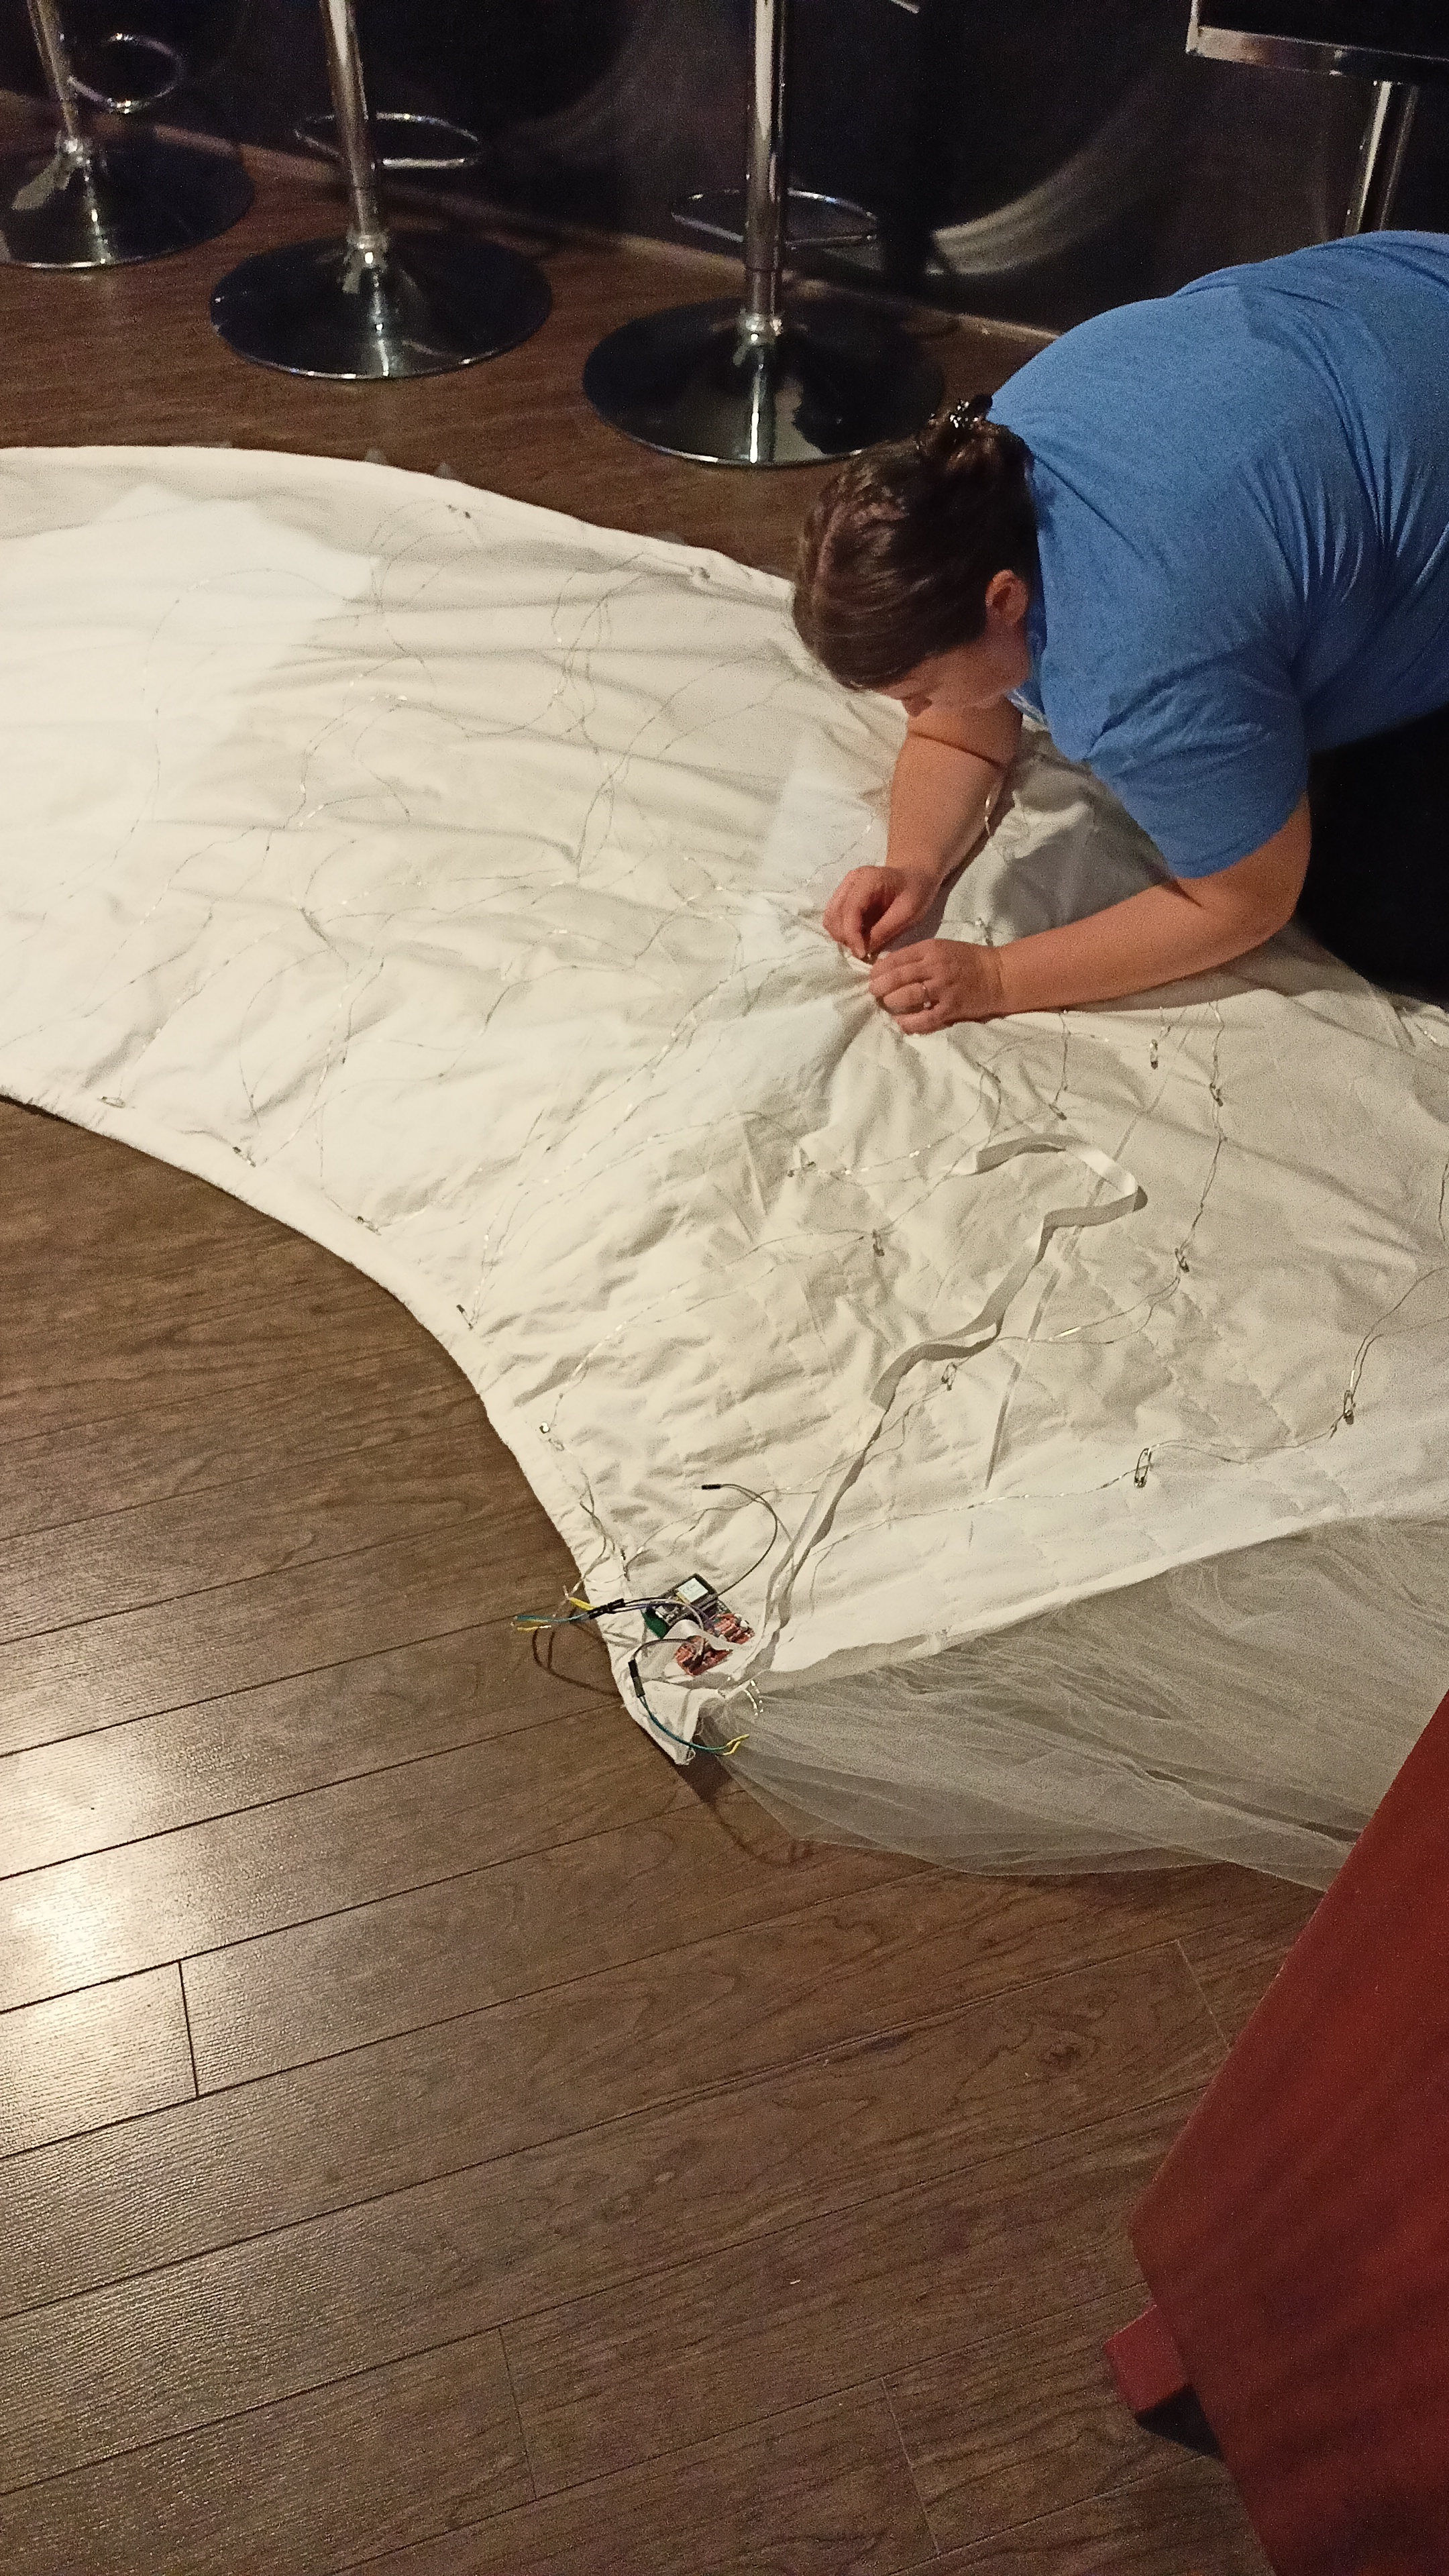
Figuring out how to fit 30m of LEDs in a skirt
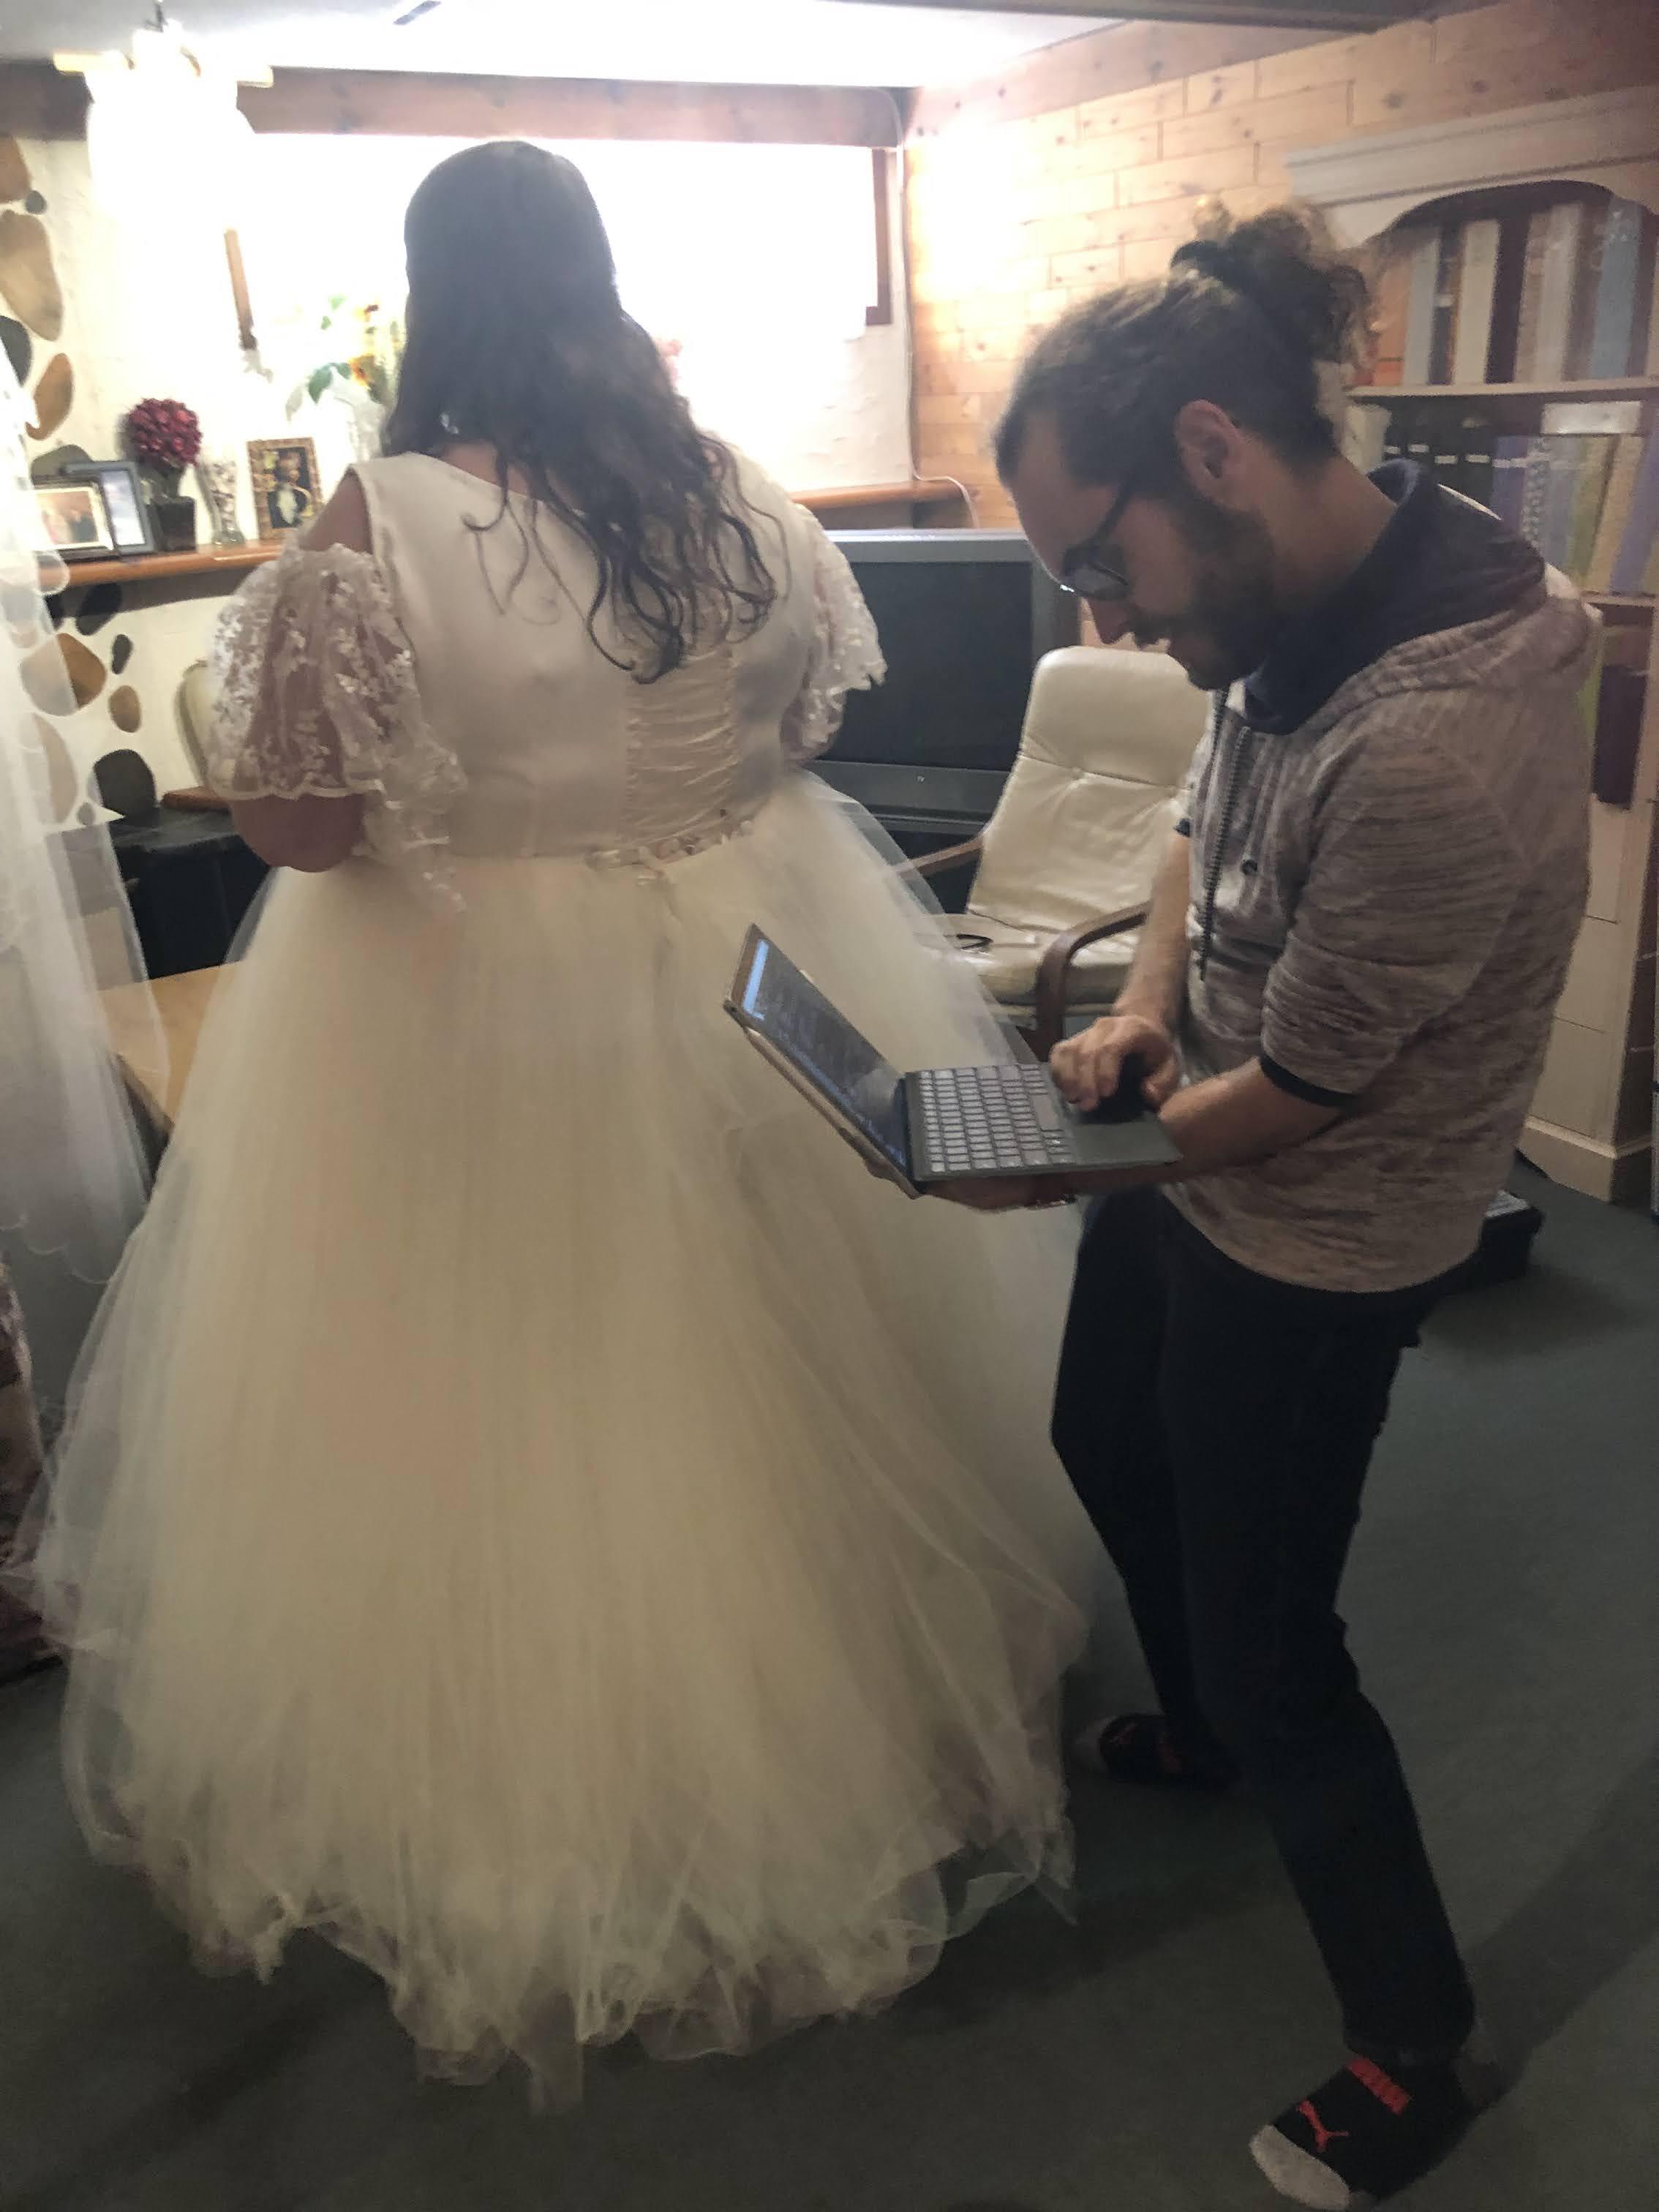
Plugging my laptop into the USB port on the dress to adjust the sensitivity for the buttons and final tests
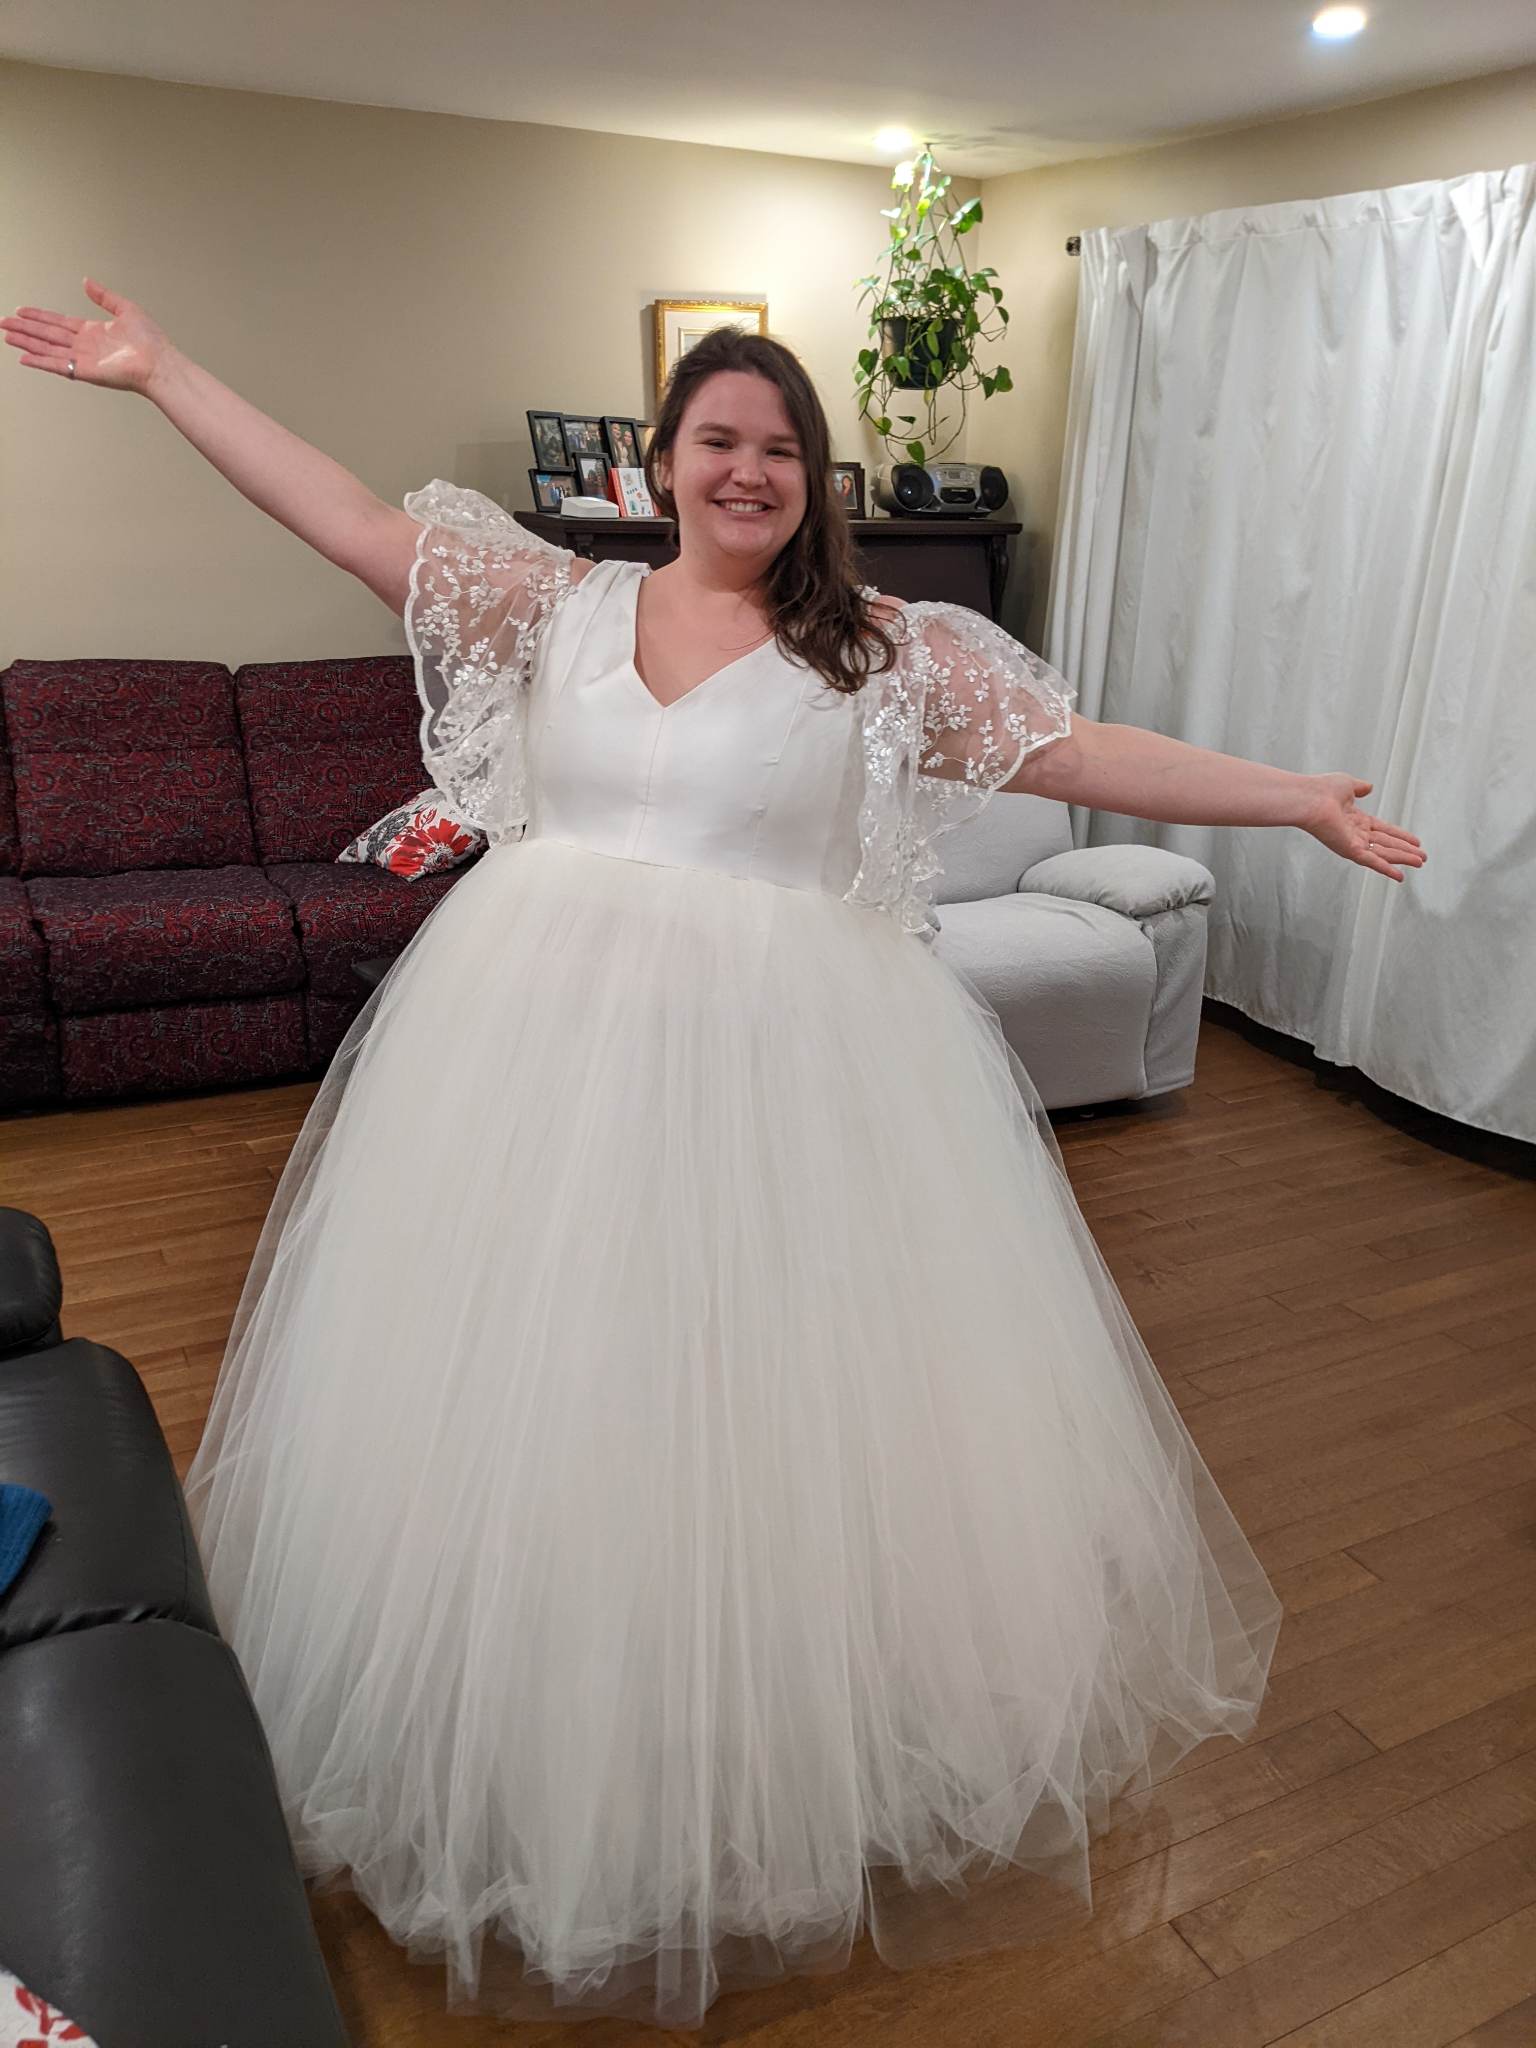
Big day


Professional Shots